How to Upgrade to Blooket Plus (Individual Plan): Step-by-Step
Upgrading to Blooket Plus as an individual teacher takes about 3 minutes. This guide explains the exact steps on how to upgrade to Blooket Plus, the decision between annual and monthly billing, and how to confirm your upgrade is active.
How to Upgrade to Blooket Plus: Step-by-Step
Before you upgrade: Review the [Blooket Free vs Plus Comparison] and [Pricing Guide] to confirm Plus features align with your classroom needs. Individual subscriptions are generally non-refundable, so it’s worth taking 2 minutes to confirm before purchasing.
All About → Blooket Plus Features Guide
Individual vs Group Plan: Which Do You Need?
Choose Individual if:
- You’re upgrading your account only
- Your school is not purchasing for multiple teachers
- You want to pay by credit card and don’t need a Purchase Order
Choose Group Plan if:
- Two or more teachers at your school want Plus
- Your district budget requires a Purchase Order
- A department head or administrator is managing the purchase
Group Plan Guide → Blooket Plus Group Plan for Schools & Districts
Step-by-Step: Upgrading to Individual Plus
→ Step 1: Log in to your teacher account at blooket.com
Make sure you’re logged into the account you want to upgrade. Plus is tied to the specific account — upgrading Account A does not affect Account B.
→ Step 2: Click your profile icon and select Settings
In your dashboard, click your profile icon in the top-right corner, then select Settings from the dropdown.
→ Step 3: Under “Plan,” select “Upgrade Now!”
On the Settings page, locate the Plan section. Click “Upgrade Now!” to go to the plan selection page.
You can also navigate directly by clicking the Plus/Upgrade prompts visible in various parts of the Blooket dashboard, such as when you try to access a Plus-only feature.
→ Step 4: Select your billing preference
On the plan options page, you’ll see two individual options:
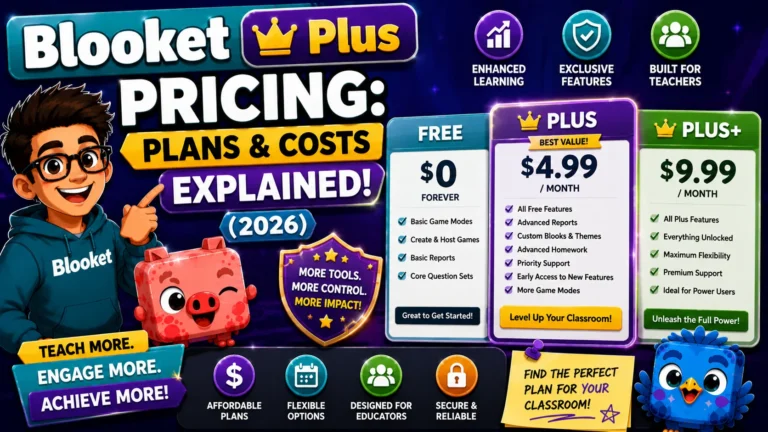
- Plus (Annual) — $4.99/month billed as $59.88/year. Best value if you plan to use Plus for the full school year.
- Plus Flex (Monthly) — $9.99/month billed monthly. Best if you want to try Plus first or only need it for specific high-use periods.
Cost comparison: Annual Plus saves $60/year compared to Plus Flex ($59.88 vs $119.88). If you’re confident you’ll use Plus for more than 6 months, the annual plan is the better financial choice.
→ Step 5: Complete payment
After selecting your plan, you’ll be directed to Blooket’s payment processor (Stripe). Enter your payment details:
- Credit card number, expiration date, CVC
- Or log in to PayPal if using PayPal
Click Subscribe (or alike) to complete the purchase.
→ Step 6: Confirm your upgrade
After successful payment, you’re redirected back to your Blooket account. Your Plus features activate immediately — no waiting period.
→ To confirm Plus is active:
- Check your Settings page — your Plan section should now show “Blooket Plus” with your billing period.
- Try accessing a Plus-exclusive feature: open a question set in edit mode and look for the audio question option, or try creating a Folder in My Sets.
- A receipt email is sent to your registered Blooket email address — check your inbox (and spam).
After Upgrading: First Things to Do
- Create your first Folder — Go to My Sets and organize your existing sets into labeled folders.
- Check your Enhanced Reports — Open any recent game report from History and explore the Plus-exclusive columns and question detail.
- Try Copy & Duplicate — Find a public set on Discover that you’ve used before and want to edit, then use Make a Copy.
- Add audio to a question (if applicable to your subject) — Open any set in edit mode and test the audio recording feature.
- Set a homework assignment with a longer deadline — Create a test homework assignment with a deadline several months out to confirm the 365-day window is active.
Cancel or Switch Plans → How to Cancel or Switch Your Blooket Plus Subscription
Managing Your Subscription
- Cancel: Go to Settings → Plan → Cancel Subscription. Annual Plus continues until your billing period ends.
- Switch from Flex to Annual: Available from Settings — see the dedicated guide for steps.
- Update billing details: Managed through the Stripe customer portal, accessible from your Settings page.