Blooket Quick Start Guide for Teachers: Be Ready in 5 Minutes
If you’ve heard students (or colleagues) talking about Blooket and you want to try it in your classroom, you’re in the right place to know about Blooket for beginners. This Blooket quick start guide for teachers explains everything you need to go from zero to your first live game in about 5 minutes — no technical experience required to get started with Blooket.
Blooket Quick Start Guide for Teachers
What Is Blooket?
Blooket is a free, web-based learning platform that turns quiz questions into competitive, game-based experiences. Instead of answering questions on a standard worksheet or a plain quiz app, students answer questions while playing games — defending towers, collecting gold, running a café, or racing to the finish line.
What makes Blooket different from tools like Kahoot or Quizizz is the depth of game variety. The same question set can be used across 20+ different game modes, each with distinct techniques—students who might be bored by a standard quiz stay engaged because the game changes every session.
For teachers, the core workflow is simple: find or create a question set, choose a game mode, and share a code. Everything else, scoring, timers, and results, is handled automatically.
What You Need to Get Started?
Before your first game, you need to know about how to use Blooket for teachers:
- A free Blooket teacher account at blooket.com
- A question set (you can borrow one from the library or build your own)
- A device for you to host, and devices for students to join (any browser works — Chromebooks, phones, tablets, laptops)
Students do not need accounts to join a live game. They simply go to the join page and enter the game code you share with them.
Step 1: Create Your Free Teacher Account
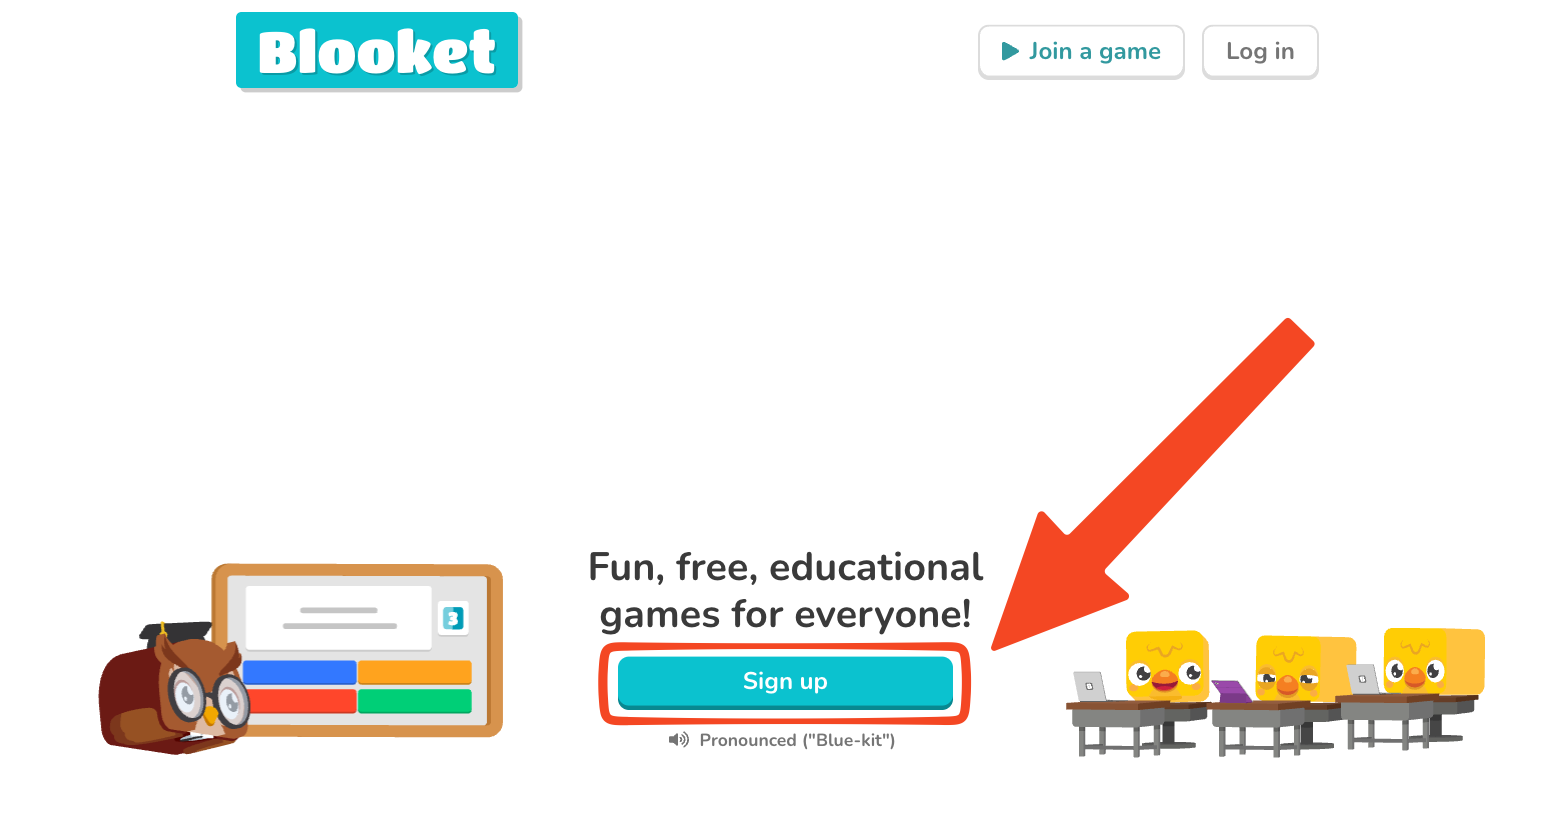
Go to blooket.com and click Sign Up in the upper right. You’ll be asked to choose between a teacher account and a student account — select teacher. You can sign up with your Google account (the fastest option) or with an email address and password.
Once your account is created, log in to Blooket to set up your class, and you’ll land on your teacher dashboard. This is your home base for everything — creating question sets, hosting games, assigning homework, and reviewing student reports.
Teacher Account Setup → How to Create a Blooket Account
Step 2: Find a Question Set
Question sets are the building blocks of every Blooket game. You don’t need to create your own right away — there are over 20 million publicly shared sets in the library created by other educators.
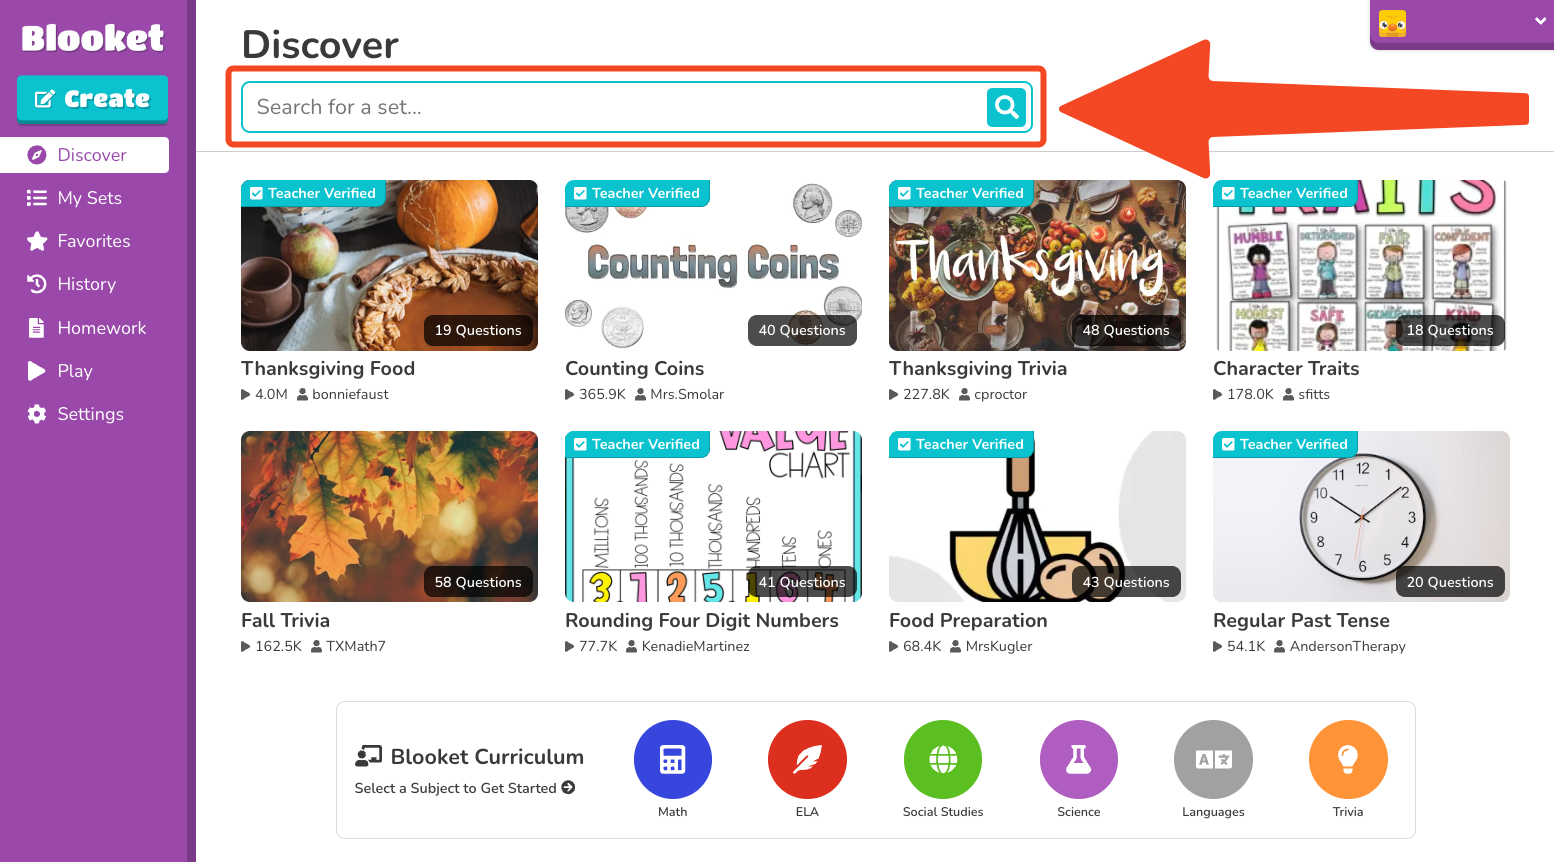
From your dashboard, click the Discover tab. Use the search bar to look for your subject and grade level. Good search terms include your topic name, grade level, standard code, or skill.
Once you find a set that looks useful, click it to open the preview page. You’ll see all the questions and answer options before committing. If it fits your needs, you’re ready to host.
Pro tip: For the most reliable, curriculum-aligned content, explore the Blooket Curriculum section under Discover. These are Blooket-verified sets organized by subject and grade — a much faster way to find quality content when you’re in a hurry.
Learn More → Blooket Curriculum Quickstart Guide
Step 3: Host Your First Live Game
With a question set open, click the Host button. You’ll be prompted to choose a game mode.
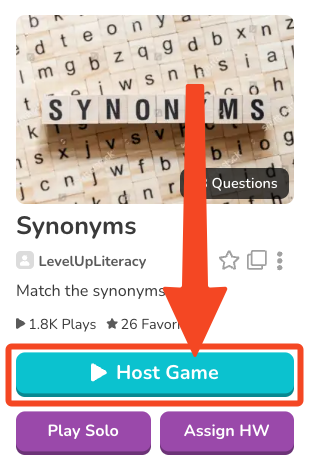
If this is your first game, start with Classic or Gold Quest — both are simple to understand and work well with any class size. Each mode includes a brief description of its techniques and an estimated time so you can match the format to your lesson.
After choosing a mode, you’ll see a Game Settings screen. The key options are:
- Shuffle Questions — Randomizes question order so students see different question sequences
- Shuffle Answers — Randomizes the order of answer options for multiple-choice questions
- Random Names — Assigns random names to players instead of letting them type their own (recommended for younger students or if you want to avoid inappropriate nicknames)
- Show Answers — Controls whether correct answers are shown after each question
Click Host Now to launch. Blooket will display a Game ID (a 6-digit code), a QR code, and a Join Link.
Game Hosting Guide → How to Host a Blooket Game
Step 4: Get Students Into the Game
Share the game code with your class using whatever method works for you:
- Display the Game ID on your projector or screen — students go to blooket.com/play, enter the code, type a nickname, and wait in the lobby.
- Display the QR code so students can scan it directly with a phone or tablet camera.
- Share the Join Link via Google Classroom, email, or your LMS for virtual or hybrid classes.
Once all students have joined and their names appear in the lobby, click Start to begin the game.
Find Game Codes → How to Find Blooket Game Codes?
Step 5: Monitor and End the Game
During the game, you’ll see a live leaderboard on your screen. Depending on the game mode, you may also see real-time question stats — how many students answered correctly, how many got it wrong, and which answer options were selected.
When the session is over (either when the timer runs out or you end it manually), Blooket automatically saves a report. You can access it anytime from the History tab on your dashboard.
Complete Guide → All Blooket Game Modes Explained
Step 6: Assign Homework (Optional)
If you want students to practice outside of class without requiring everyone to be online at the same time, use Homework mode. Instead of a live game code, Blooket generates a link and QR code that students can access on their own schedule before a deadline you set.
Students choose their own game mode and play until they reach a Correct Goal — a minimum number of correct answers you specify. Their results are automatically saved and are visible to you in the Homework tab.
Free accounts can assign homework up to 14 days in the future. Blooket Plus extends this to 365 days.
Full Teacher Guide → How to Assign Homework in Blooket
Step 7: Review Student Reports
After any live game or homework assignment, go to History on your dashboard to see full results. Each report shows:
- A leaderboard with every student’s name, accuracy rate, and total correct answers
- A question-by-question breakdown showing which questions challenged students most
- Individual student detail views (click any student’s name)
Reports remain in your history indefinitely, so you can return to review past sessions at any time.
Quick-Start Checklist
Before your first class session, run through these steps of the booklet teacher tutorial:
- Created a teacher account at blooket.com
- Found a question set in the Discover tab
- Ran a test game on your own device to see how the mode works
- Decided how you’ll share the game code (projector, QR, link)
- Confirmed students’ devices can reach blooket.com
Frequently Asked Questions
Do students need to create accounts?
No. Students can join any live game as a guest — they just enter the code and a nickname. However, if students have accounts and are logged in, they earn tokens and XP that carry over between sessions, which can help with long-term motivation.
What devices does Blooket work on?
Any device with a modern web browser — Chromebooks, laptops, phones, tablets, iPads. No app download is required. Students join at blooket.com/play or through the link you share.
Is Blooket free?
Yes. The free (Starter) tier gives you full access to all game modes, unlimited question sets, live games with up to 60 players, and homework assignments. Blooket Plus adds features like enhanced reports, 300-player games, and audio questions.
How long does a typical game take?
Most game modes are designed for 5–10 minutes. The Blooket game mode preview screen shows an ideal time estimate for each mode before you select it.
Can I use my own questions?
Yes. From the Create tab, you can build question sets from scratch with multiple choice, typing answers, images, and equations. You can also import from Quizlet or a spreadsheet.