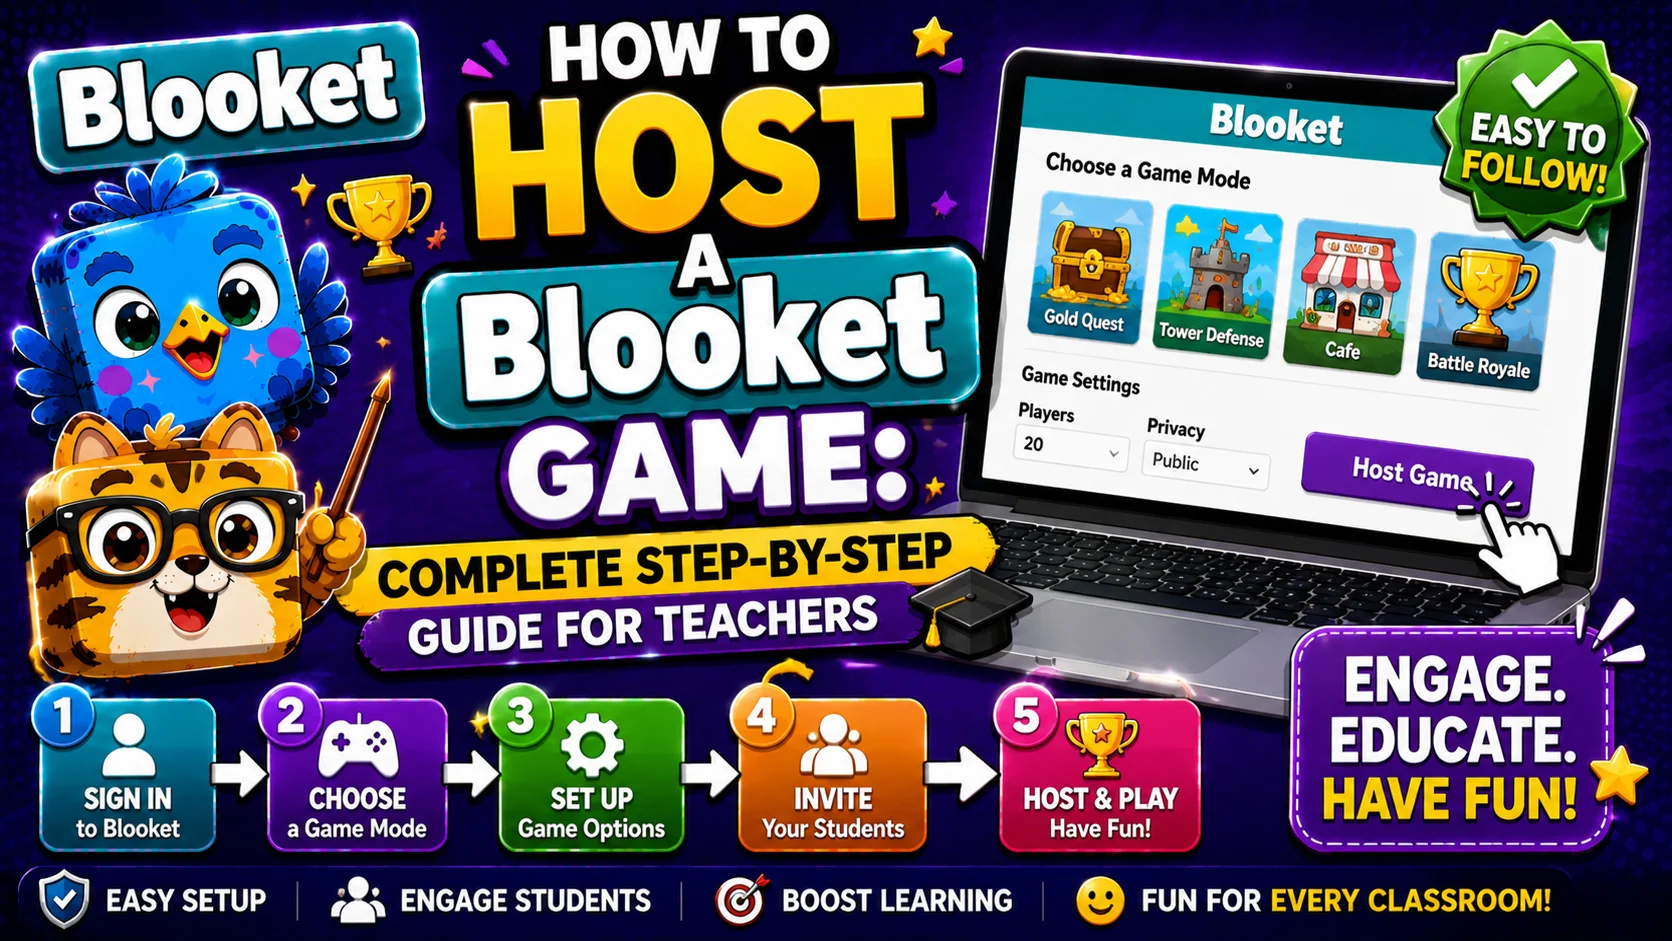
How to Host a Blooket Game: Complete Step-by-Step Guide for Teachers
Last verified: August 12, 2026
Quick Answer: This guide covers the decisions that matter once you already know the basic hosting steps: which game mode fits your class, what each setting actually does, how to handle mid-game issues like disconnections, and the most common mistakes teachers make when hosting.
How to Host a Blooket Game:
(Step-by-Step)
Hosting a Blooket game is one of the most useful features on the platform. Students are engaged, questions are answered quickly, and you get real data about who understood the content.
Blooket Hosting for Teachers:
(Settings & Game Modes)
This companion guide goes beyond the basic steps. It covers choosing the right Blooket game mode for your specific class, what each setting actually changes, how to handle issues that arise mid-session, and the mistakes most teachers make on their first few hosting attempts.
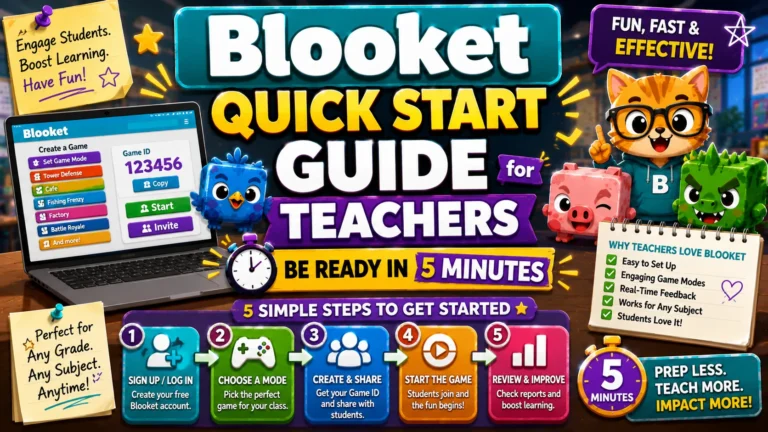
New to hosting entirely? Start with the Quick Start Guide for Teachers first, then come back here for the details.
What “Hosting” Means in Blooket?
When you host a game, you create a live session that students join with a code. You control the game mode, the settings, and when it starts and ends. Students join on their own devices and compete in real time.
Hosting is different from Solo mode (students play independently at their own pace) and Homework mode (students complete an asynchronous assignment before a deadline). Hosting is the live, synchronous experience; everyone plays together at the same time.
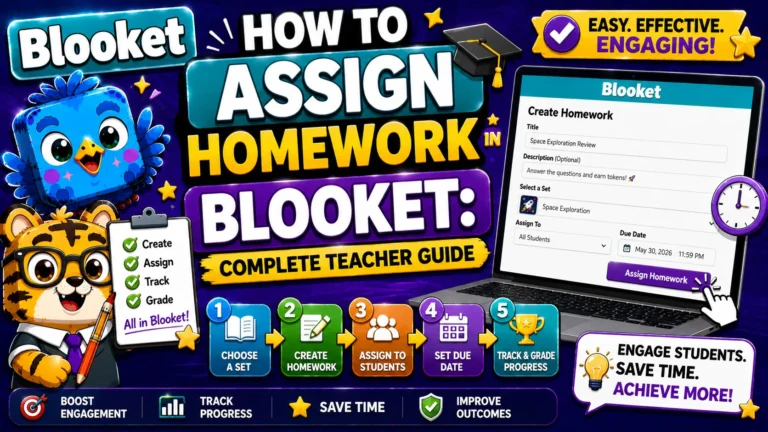
See also → How to Assign Homework in Blooket
Before You Start: What You Need
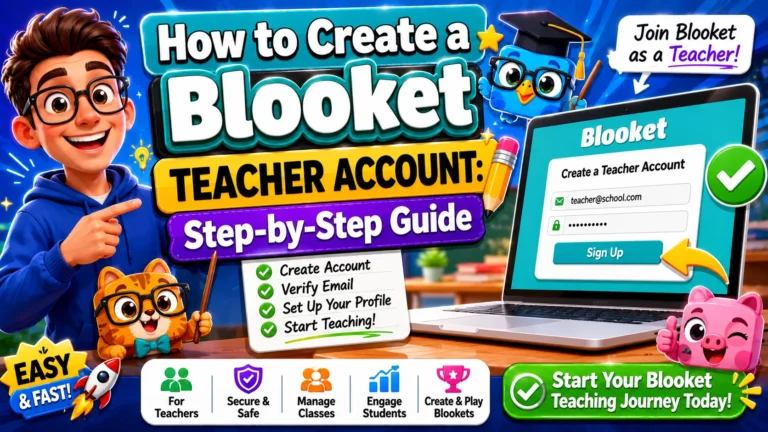
- A Blooket teacher account (free at blooket.com)
- A question set selected (from Discover, Curriculum, or your own My Sets)
- A way to display or share the game code with students
- Student devices ready; any browser works; no app needed
For the exact click-by-click steps from account login to launching the game, see our complete Blooket Hosting guide. The sections below assume you’ve got the basics and want to make better decisions at each step.
Choosing Your Question Set: Three Starting Points
- From My Sets: Click My Sets in the sidebar, find the set you want, and click Host on the set card.
- From Discover: Browse or search for a public set, open its preview page, then click Host.
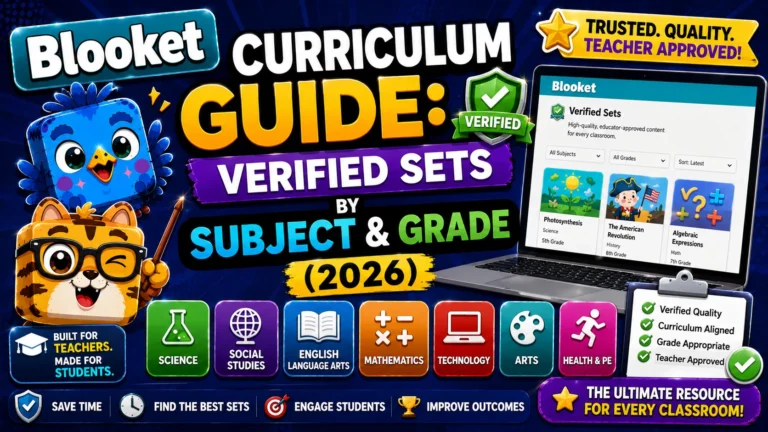
- From Curriculum: Open any Blooket-verified set’s preview page and click Host for pre-reviewed, grade-aligned content.
Choosing a Game Mode for Your Class
Blooket offers 25+ game modes. Each uses the same question set but with completely different techniques. Here’s a practical comparison for classroom use, focused on the modes teachers reach for most:
Game Mode | Best For | Difficulty | Ideal Time |
Classic | First-time sessions, any grade | Simple | 5 min |
Gold Quest | Fun review, strategy element | Simple | 7 min |
Battle Royale | Competitive classes, 1v1 showdowns | Simple | 7 min |
Blook Rush | Fast-paced, all ages | Normal | 7 min |
Cyber Hack | Older students, strategy/memory | Normal | 8 min |
Fishing Frenzy | Mixed groups, light competition | Normal | 7 min |
Cafe | Team strategy, longer sessions | Normal | 7 min |
Racing | Quick, speed-focused review | Simple | 5 min |
Tower Defense | Complex, great engagement | Complex | 7 min |
For your first game, Classic or Gold Quest are the safest choices. They are easy for students to understand immediately and work well with any class size. Click on any mode in the host screen to see its mechanics, ideal player count, and recommended time before selecting it.
Full list of all 25+ modes → Blooket Game Modes Explained
What Each Game Setting Actually Does
Before launching, you’ll see a Game Settings screen. Here’s what each option changes and when to use it.
Core Settings
- Shuffle Questions: Each student sees questions in a different order. Recommended to prevent answer-sharing.
- Shuffle Answers: Randomizes the position of multiple-choice answers. Useful for preventing students from memorizing answer positions rather than content.
- Question Time Limit: Seconds students have to answer each question. The default works well for most subjects; reduce it for fast-paced practice, increase it for reading-heavy questions.
Player Settings
- Random Names: Assigns random names to players rather than letting them type their own. Strongly recommended for younger students or any class where inappropriate usernames are a concern. As a practical tip, if you want student names to appear correctly in your after-game reports, either disable Random Names and brief students to enter their real first name and last initial, or plan to cross-reference results manually.
- Hide Account Creation: Hides the prompt asking students to create Blooket accounts. Useful for a cleaner experience or if your school policy discourages personal accounts.
Team Mode (Select Game Modes Only)
Some modes offer a Team mode option that automatically divides students into teams. This works well for larger classes or when you want a collaborative dynamic instead of individual competition. Once your settings are configured, click Host Now to launch the game.
Getting Students Into the Game
After launching, you’ll see the lobby screen with three ways to get students in:
- Game ID (7-digit code): A number (for example, 4839201) displayed on screen. Students go to play.blooket.com, enter the code, type a nickname, and wait in the lobby. Best for in-person classes with a projector.
- QR Code: Displayed next to the Game ID. Students scan it with a phone or tablet camera, no typing required. The fastest method when students have mobile devices.
- Join Link: Copy and paste into Google Classroom, your LMS, an email, or a messaging platform. Best for remote or hybrid classes where students aren’t physically present to see a projected code.
Step-By-Step → Blooket Join Guide
Starting and Monitoring the Game
Watch the lobby as students join; their names (or randomly assigned names) appear as they enter. You don’t need to wait for every student before clicking Start. Latecomers can still join mid-session using the original code or link.
While the game runs, your screen shows a live leaderboard and, in some modes, a question feed showing how students are answering. Blooket handles scoring, timers, and transitions automatically; your role is mainly to monitor progress, answer student questions, and decide when to end the session.
Common Hosting Mistakes (And How to Avoid Them)
Most first-time hosting problems fall into a small set of predictable categories. Knowing them in advance saves you from troubleshooting mid-class.
Mistake | Why It Happens | Prevention |
Students can’t find play.blooket.com | They try the main blooket.com homepage | Write play.blooket.com on the board explicitly |
Inappropriate nicknames appear | Random Names was left disabled | Enable Random Names before every session |
Report shows “Student1, Student2” | Random Names was enabled without a real-name briefing | Brief students to type real names before joining, or accept generic names for anonymous quick checks |
Game ID expired or lobby empty | The teacher navigated away before students joined | Don’t leave the host screen until all students have joined |
One student’s game is lagging | Poor local network on their device | Have the student close other tabs or switch to a different browser |
Handling Mid-Game Issues
- Can students join after the game has started? The game code remains active throughout the session. Late joiners are added to the leaderboard and can start playing immediately.
- What happens if students get disconnected? They can rejoin using the same game code, and their previous score is retained. In certain modes with save states (such as Tower Defense and Cafe), progress may be restored.
- Can I host the same set multiple times? Each hosting creates a new session, so you can reuse a set across multiple class periods and get a separate report for each.
- Can I host without a projector? Share the Join Link through Google Classroom or your LMS instead; students access the game without needing to see a displayed code.
Ending the Game and Reading the Report
End a game anytime with the End Game button, or let it run to the mode’s natural conclusion (a tower fully destroyed, a timer running out). After ending, Blooket shows the final leaderboard, then automatically saves a full report to your History tab.
Each report includes a summary (total players, average accuracy, total questions answered), a full leaderboard with per-student accuracy, and a question-by-question breakdown of right and wrong answers. Blooket Plus users also see a detailed per-student, per-question breakdown table, useful for pinpointing specific knowledge gaps.
Source: verified from Blooket’s official “How to Host a Blooket Game” documentation.
Where to Go Next
- Want to learn more in detail? See our Blooket overview page
- Want the full teacher toolkit overview? Visit the For Teachers hub
- Introducing this to students directly? See the For Students hub
Have a different question? Check our Frequently Asked Questions or the full Blooket Help Center
Frequently Asked Questions
Can students join after the game has started?
Yes. The game code remains active throughout the session. Students who join late will be added to the leaderboard and can start playing immediately.
How many students can join a live game?
Free (Starter) accounts support up to 60 players per game. Blooket Plus expands this to 300 players — useful for combined classes, school events, or large review sessions.
What happens if students get disconnected?
Students can rejoin using the same game code. Their previous score is retained. In some game modes with save states (like Tower Defense and Cafe), progress may be restored.
Can I host the same set multiple times?
Yes. Each time you host, a new game session is created. You can use the same question set for every class period and get separate reports for each.
Can I host without a projector?
Yes. Share the Join Link through Google Classroom or your LMS instead. Students access the game on their devices without needing to see the code displayed anywhere.
What is the most common mistake first-time hosts make?
Leaving Random Names disabled. This is the single most frequent source of inappropriate or confusing nicknames appearing during a live session, and it is a one-click fix in the Game Settings screen.