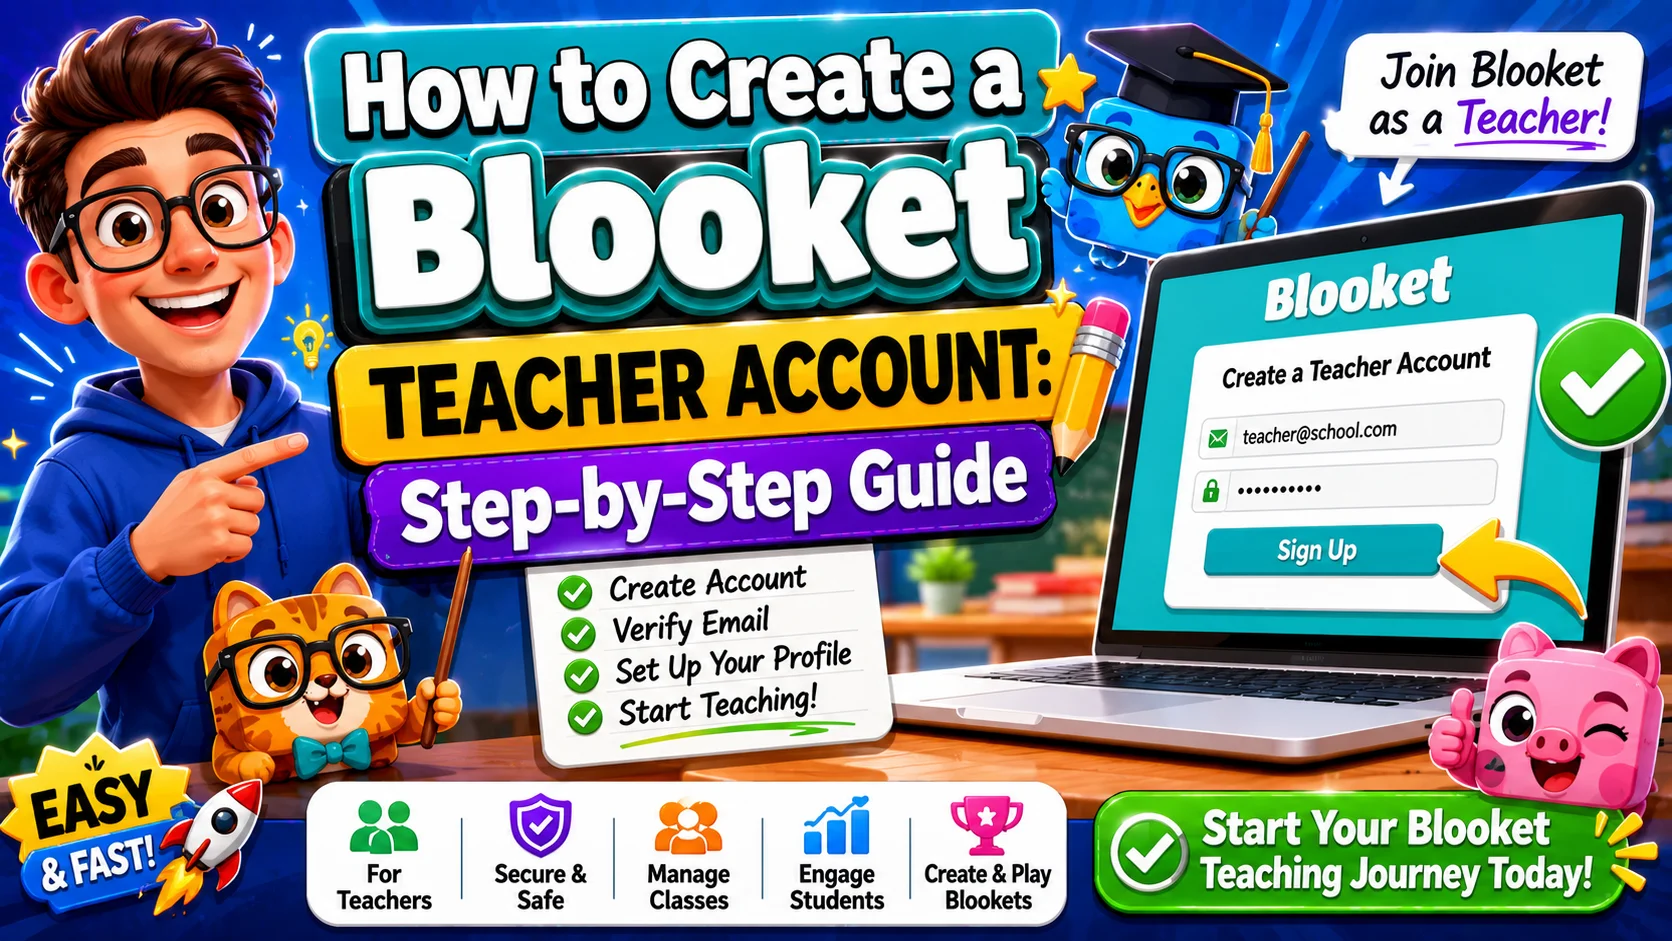
How to Create a Blooket Teacher Account: Step-by-Step Setup Guide
Creating a Blooket account takes less than 2 minutes. This guide walks you through every step of Blooket sign-up for teachers — explaining how to create a Blooket teacher account from the sign-up page to your first look at the Blooket teacher dashboard — so you can start hosting games with your class as quickly as possible after Blooket teacher account setup.
How to Create a Blooket Teacher Account:
(What You Need)
You just need one of the following:
- A Google account (the fastest method)
- An email address and a password you choose
Blooket is free to use. You do not need a credit card or school approval to create a standard teacher account.
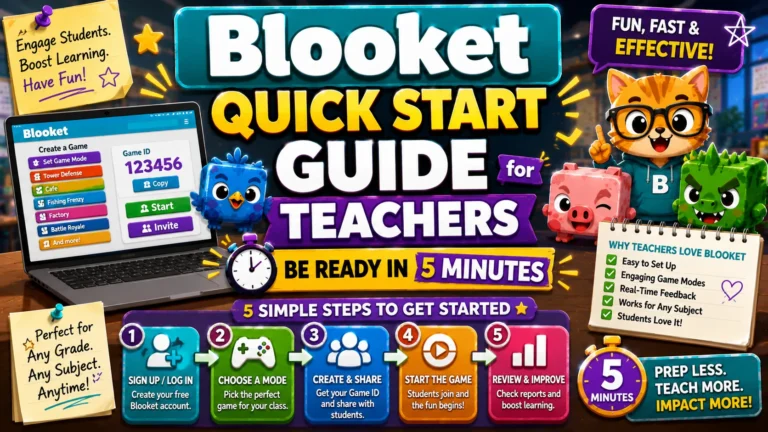
All About → Blooket Quick Start Guide for Teachers
Step 1: Go to Blooket.com
Open any web browser on your computer, tablet, or phone and go to blooket.com. You’ll see the Blooket home page, with a Sign Up button in the upper-right corner. Click it.
Step 2: Choose Your Account Type
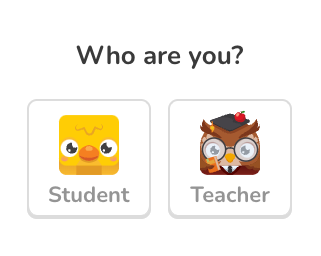
Blooket will ask whether you are a teacher or a student. Select Teacher. This choice is important because it determines what features appear on your dashboard.
Teacher accounts have access to:
- Creating and managing question sets
- Hosting live games and generating game codes
- Assigning homework with deadlines
- Viewing full student performance reports
- All game modes and platform settings
Student accounts have a different experience focused on gameplay, Blooks, and tokens. You can switch to a different account type later if needed, but starting as a teacher is the right choice for classroom use.
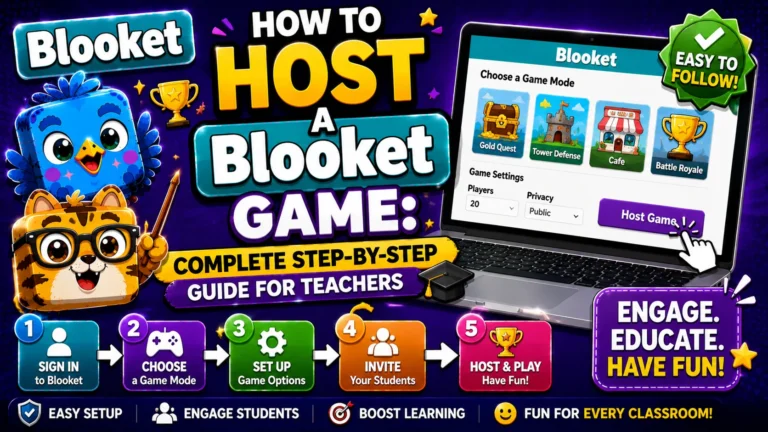
Step-by-Step → How to Host a Blooket Game
Step 3: Sign Up with Google or Email
You have two options:
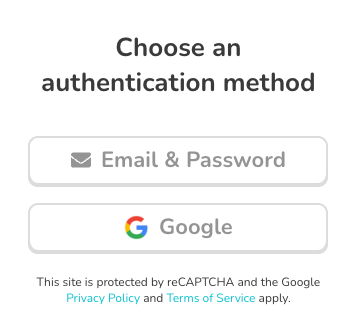
Option A: Sign Up with Google (Recommended)
- Click Continue with Google. A Google sign-in window will appear.
- Select the Google account you want to use — ideally, your school Google account if your district uses Google Workspace for Education.
- After selecting your account, Blooket will automatically create your teacher account, and no additional steps are needed.
Why is Blooket Google sign-in Recommended? It eliminates the need to remember a separate password and works seamlessly if your students use Google accounts to log in, too.
Option B: Sign Up with Email
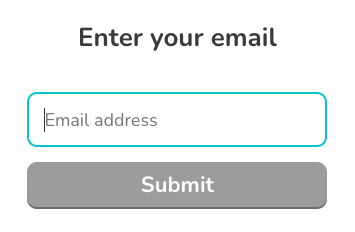
- Enter your email address, choose a username, and create a password. Click Create Account.
- Booket sends a verification email to confirm your address.
- Check your inbox (and your spam folder if you don’t see it within a minute) and click the confirmation link.
Important: Your username is public-facing — it appears on your profile and may be visible to students. Choose something professional.
Step 4: Complete Your Profile (Optional)
After signing in for the first time, Blooket prompts you to provide some optional details about your teaching context — subject area, grade level, and school name. This information helps Blooket surface relevant content in the Discover section, but it’s not required.
Step 5: Explore Your Teacher Dashboard
Once logged in, you’ll land on your teacher dashboard. Here’s what each section does:
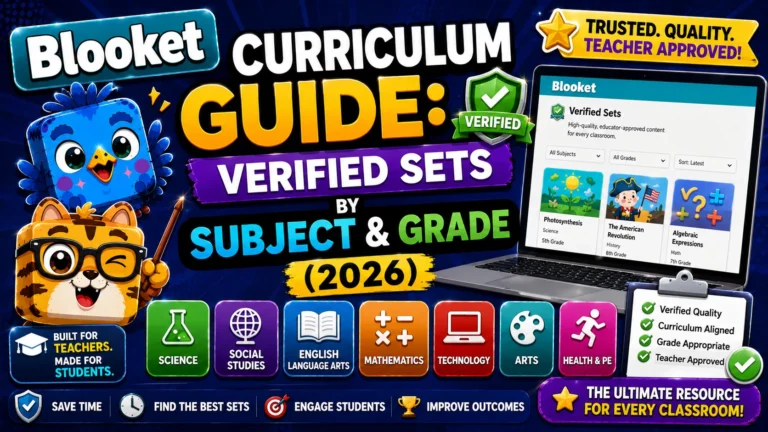
- Discover — Browse the library of 20+ million public question sets created by other educators. Filter by subject, grade, or keyword. The Curriculum section inside Discover features Blooket-verified sets organized by subject and grade level.
- My Sets — All question sets you’ve created or copied from the public library. This is where you’ll find your content after building or importing sets.
- Create — Opens the question set editor, where you can build your own sets from scratch with multiple choice, typing answer, or image-based questions.
- Host — Shortcut to view your sets and host a live game. (You can also host directly from a set’s preview page.)
- Homework — Shows all active and past homework assignments. Track how many students have completed each assignment in real time.
- History — Archive of every game you’ve hosted and every homework assignment that has closed. Access detailed reports from here.
- Blooks — Your personal Blook collection. Blooks are the avatar characters used in games. Teachers earn tokens and can collect Blooks just like students.
- Market — Where tokens are spent to open packs and collect new Blooks.
Full Guide → Blooket Dashboard Explained
Frequently Asked Questions
Can I use a personal Gmail account instead of my school account?
Yes. Blooket works with any Google account. However, if your school uses Google Workspace for Education, using your school account makes it easier to integrate with Google Classroom and keeps your teacher data separate from personal use.
What if I accidentally signed up as a student?
You can switch your account type. Go to your profile settings and look for the option to switch from student to teacher. The steps are covered in our account settings guide.
Can I have both a teacher account and a student account?
Blooket links accounts to email addresses, so you need a different email for each account type. Most teachers don’t need a student account — the teacher dashboard lets you preview game modes through hosting.
Is my account information visible to students?
Students joining your games see your game settings and the game itself. Your email address and personal profile details are not visible to students during gameplay.
What should I do if I don’t receive the verification email?
Check your spam or junk folder first. If it’s not there, try signing in with your email — the Blooket prompt will ask you to resend the verification. You can also use the Google sign-in option as an alternative if you have a Google account linked to the same email address.