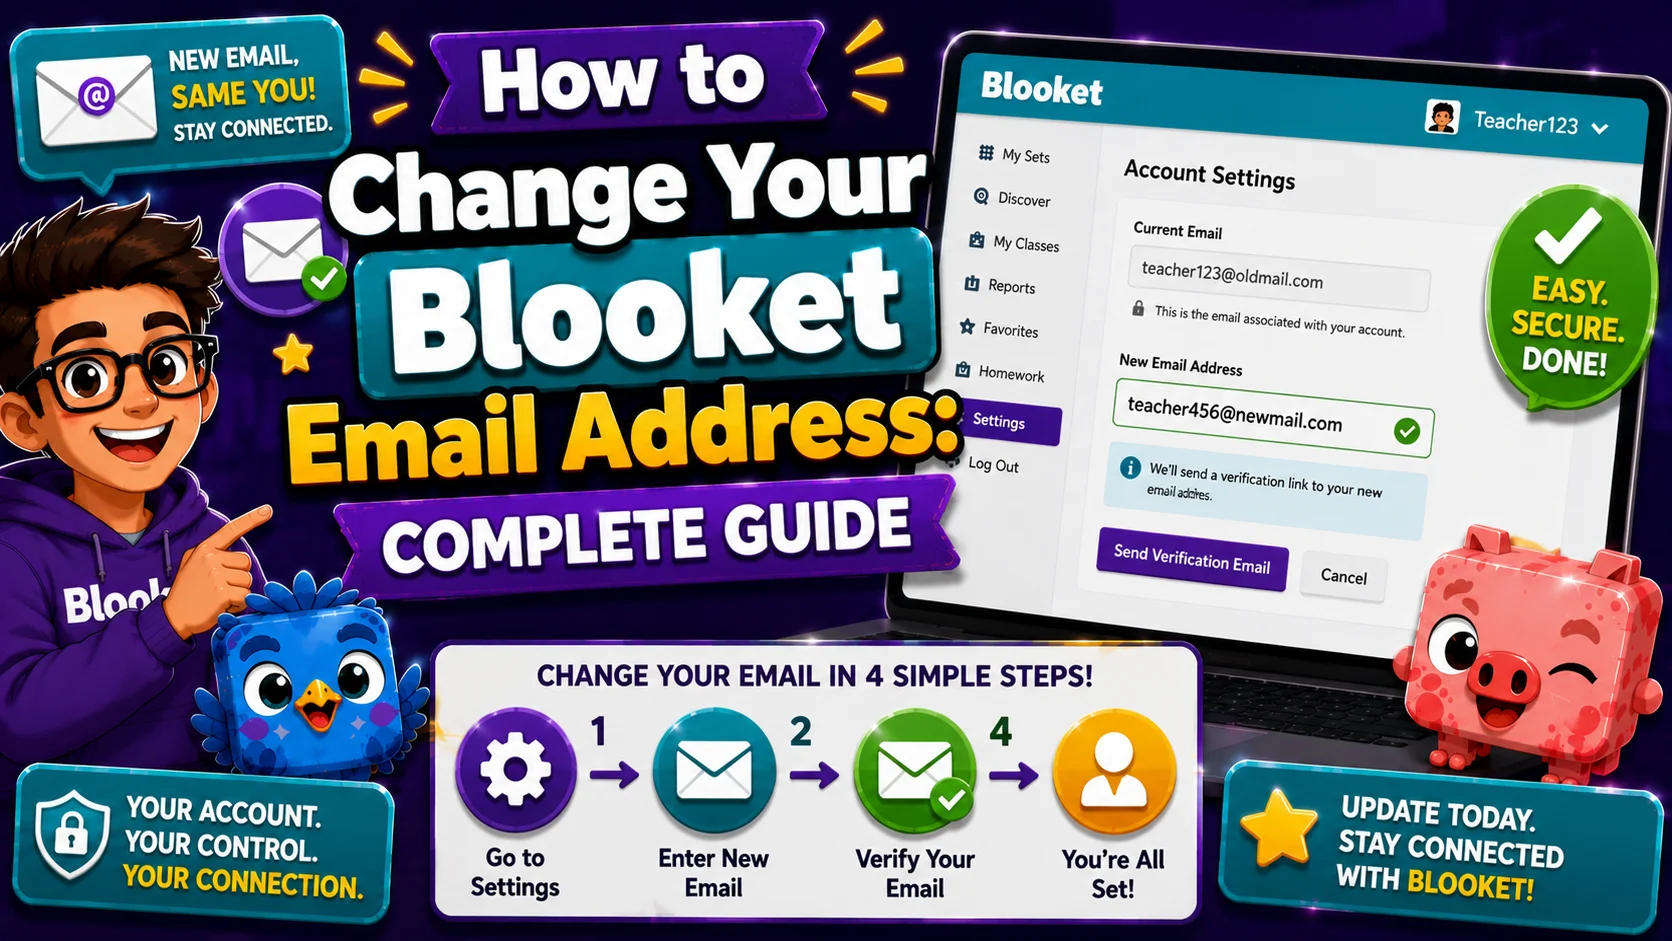
How to Change Your Blooket Email Address: Complete Teachers Guide
Last verified: August 13, 2026
Quick Answer: To change your Blooket email address, go to Settings, click Edit Info, then Change Email. Blooket verifies your current email first, then sends a confirmation link to your new address. Google SSO accounts use a different process since they authenticate through Google rather than a Blooket-specific email.
How to Change Blooket Email Address
The email address linked to your Blooket account is more than a login detail. It is the anchor for password resets, billing receipts if you have Plus, and account recovery. Correctly changing it, especially before a school email account is deactivated, protects years of question sets, game history, and subscriptions from becoming inaccessible.
This guide explains how to change your Blooket email address, the important difference between Google SSO and email/password accounts, and what to do when the self-service option isn’t available.
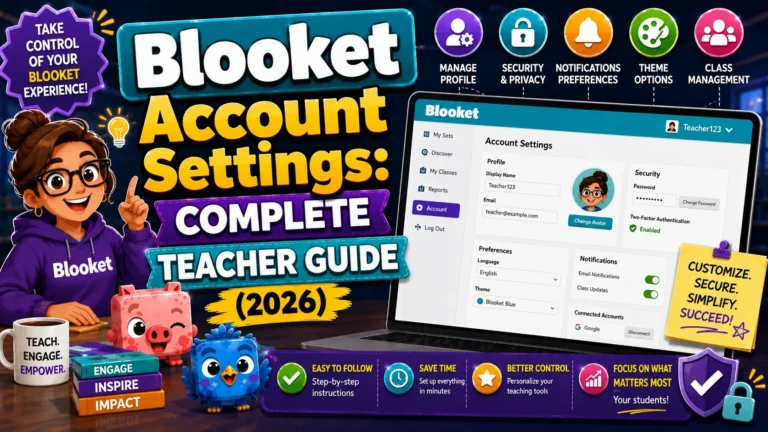
Complete Guide About → Blooket Account Settings
Why This Matters: The School Email Problem
Many teachers create their Blooket accounts using their school-issued email addresses during professional development or during their first week on the job. This works perfectly until they change schools, move districts, or retire.
What happens when a school email is deactivated:
- You can no longer receive password reset emails to that address
- If you’re ever logged out and can’t remember your password, account recovery becomes impossible through normal channels
- A Blooket Plus subscription paid from school funds may continue billing to a card you no longer control
The solution is simple, but it needs to happen before you lose access to the school email. If you’re currently using a school email for Blooket and you know you’ll be leaving, change your email to a personal address now, not after the school email stops working.
Source: verified from Blooket’s official “How to Change Your Blooket Email Address” documentation.
Before You Begin: Identify Your Account Type
How your Blooket account was created determines which email change method is available to you.
- Email/Password Account: You signed up using an email address and created a Blooket-specific password. The self-service email change option is available from your Settings page.
- Google SSO Account: You signed up using “Continue with Google.” Your login is handled through your Google account. Blooket may not display the self-service “Change Email” button for your account. If this applies to you, skip to the Google SSO section below.
Method 1: Self-Service Email Change
(Email/Password Accounts)
This is the standard method, a fully automated process for accounts created with an email/password combination.
- Step 1: Log in to your Blooket account at blooket.com
- Step 2: Click your profile icon in the top-right corner, then select Settings
- Step 3: On the Settings page, navigate to the Profile section and click Edit Info
- Step 4: Click Change Email. This option appears in the Edit Info panel for eligible accounts.
- Step 5: Click Confirm Access. Blooket sends a verification code to your current email address to confirm you’re the account owner.
- Step 6: Check your current email inbox for the verification code. Check your spam or junk folder if it doesn’t appear within 2 to 3 minutes. Enter the code in the Blooket window. Do not close the Blooket window while checking your email, since the code expires if the session times out.
- Step 7: After verification, enter your new email address in the provided field.
- Step 8: Blooket sends a confirmation link to your new email. Click it to verify ownership of the new address.
- Step 9: Your email address is now updated. Log out and log back in with your new email to confirm everything works correctly.
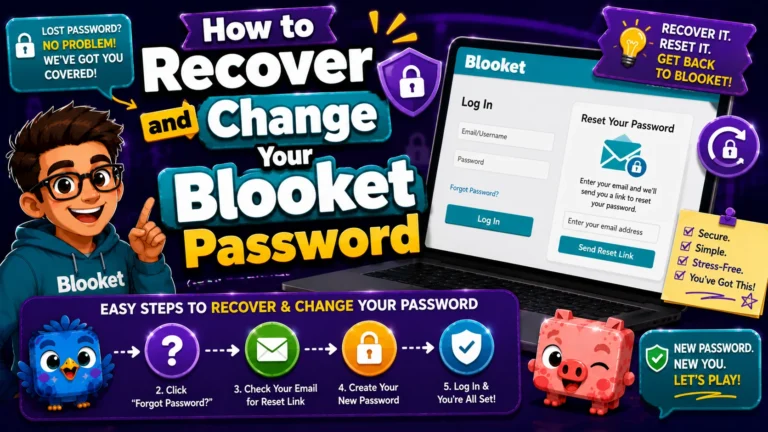
Complete Guide For → How to Recover and Change Your Blooket Password
Method 2: Google SSO Accounts
If your Blooket account is connected to a Google account, you have two paths depending on your goal:
- Path A: You want to update which Google account is linked. Google SSO accounts authenticate through Google’s own login system. To change which Google account is linked to your Blooket account, contact Blooket support directly at contact-us@blooket.com. Provide your current username and the email addresses involved, both the old and new Google accounts.
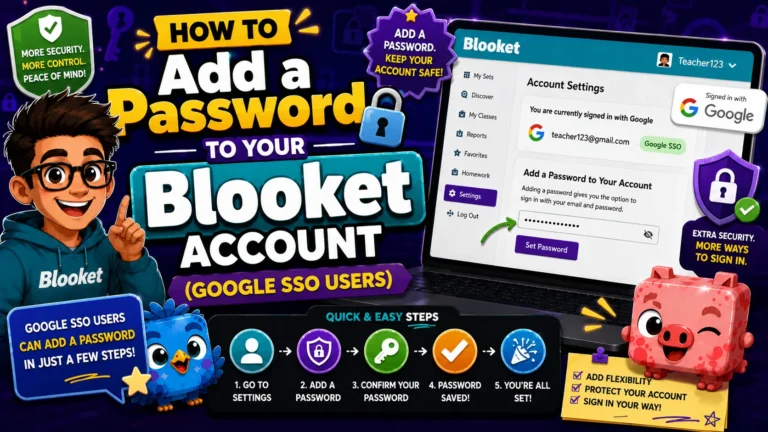
- Path B: If you want to add an email/password login as a backup, use the Add a Password feature in Settings. It doesn’t change the Google association but adds an independent email/password login method to your account, giving you a fallback if Google authentication ever fails.
Full Guide for Google SSO Users → How to Add a Password to Your Blooket Account
Troubleshooting Common Issues
“Change Email” button not visible
- Your account may be Google SSO; use Method 2 above.
- Try a different browser (Chrome, Firefox, Safari) to rule out rendering issues.
- Clear the browser cache and reload the Settings page.
Verification code not arriving
- Check the spam or junk folder first.
- If using a school email, your school’s IT filters may be blocking automated emails from Blooket’s domain. Ask IT to whitelist @blooket.com, or use a personal email as your new address.
- The code has a limited validity window. If it has expired, restart the process to receive a fresh code.
“This email is already associated with another account”
- Another Blooket account already uses your new email address.
- If it’s an account you own, log in to that account and delete it first (Settings, Delete Account), then retry the email change.
- If it’s not your account, use a different email address or contact support at contact-us@blooket.com.
New email verification link not arriving
- Same troubleshooting as above: check spam, whitelist @blooket.com.
- The verification link has an expiry window. If it expired, return to Settings and restart the Change Email process.
Want to Delete your Account? → How to Delete a Blooket Account
After Your Email is Changed
→ Log out and back in using your new email to confirm the update is active.
→ Update your Blooket bookmarks or saved passwords to reflect the new login email.
→ If you’re a Plus subscriber, check that billing receipts are now going to the new address by reviewing your payment email after the next billing cycle.
Where to Go Next
- Want to know more about the platform? See our Blooket overview
- Want the full teacher toolkit overview? Visit the For Teachers hub
- Introducing this to students directly? See the For Students hub
Have a different question? Check our Frequently Asked Questions or Blooket Help Center .
Frequently Asked Questions
Can I change my Blooket email if I signed up with Google?
Not through the standard self-service option. Google SSO accounts authenticate through Google, so changing which Google account is linked requires contacting Blooket support directly, or you can add a separate email and password as a backup login method.
Will I lose my question sets or game history if I change my email?
No. Your email address is just a login and contact detail. Question sets, game history, Blooks, tokens, and your Blooket Plus subscription all stay linked to your account regardless of email changes.
What if I don’t receive the verification code?
Check your spam or junk folder first. If you use a school email, ask your IT department to whitelist @blooket.com, since school filters sometimes block automated emails. You can also restart the process to request a fresh code if the original expired.
Why should I change my email before leaving my school?
Once your school email is deactivated, you lose access to password reset emails and account recovery for that address, and any Blooket Plus billing tied to it can become unmanageable. Changing to a personal email before you leave protects your access.
What happens if my new email is already linked to another Blooket account?
Blooket will tell you the email is already in use. If it’s an account you own, delete that account first, then retry the change. If it belongs to someone else, choose a different email or contact Blooket support.
Do I need to stay logged into Blooket while checking my email for the code?
Yes. The verification code has a limited validity window, so closing the Blooket window or letting the session time out can cause the code to expire before you enter it.
How do I confirm my email change worked?
Log out and log back in using your new email address. If you’re a Plus subscriber, also confirm your next billing receipt arrives at the new address.