How to Change Your Blooket Email Address: Complete FAQs Guide
Last verified: August 25, 2026
Quick Answer: To change your Blooket email, go to Settings, select Change Email, verify your current email with a code, enter your new email, and verify it with a second code. Update it before a school email is deactivated, and before your next Plus billing cycle if applicable.
How to Change Blooket Email Address
Your Blooket email address is the most critical part of the information on your account. It’s the recovery key for password resets, the identifier for billing receipts, and the way to get support assistance. Keeping it current, especially before a school email gets deactivated, protects years of content, Blooks, and subscription investment. Learn how to change your Blooket email address in this complete FAQs guide.
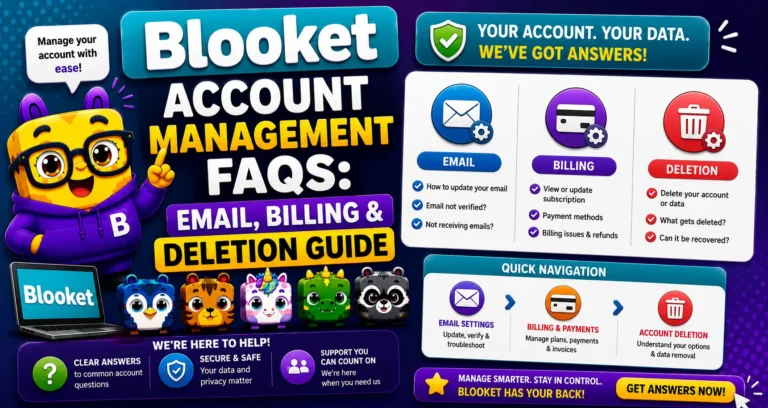
Account Management Overview → Blooket Account Management Guide
Before You Start: The School Email Risk
Many teachers and students create their Blooket accounts with school-issued email addresses. This works perfectly while enrolled or employed, but school email accounts are deactivated when:
- Students graduate or transfer to other schools.
- Teachers leave a school or district.
- A school district changes email providers.
When your school email is deactivated, password reset codes have no destination, and account recovery through normal channels becomes impossible. Your Blooks, question sets, game history, and any active Plus subscription become inaccessible.
Action required: If your current Blooket email is a school address, change it to a personal email (Gmail, Outlook, Yahoo) before you lose access.
Google SSO vs Email/Password Accounts
If you signed up with “Continue with Google,” your account authenticates through your Google account, not an email/password pair. The standard “Change Email” self-service flow may not apply.
Important note: Contact support at contact-us@blooket.com for changes to Google-linked account email addresses.
If you signed up with an email address and password, follow the complete 8-step process below.
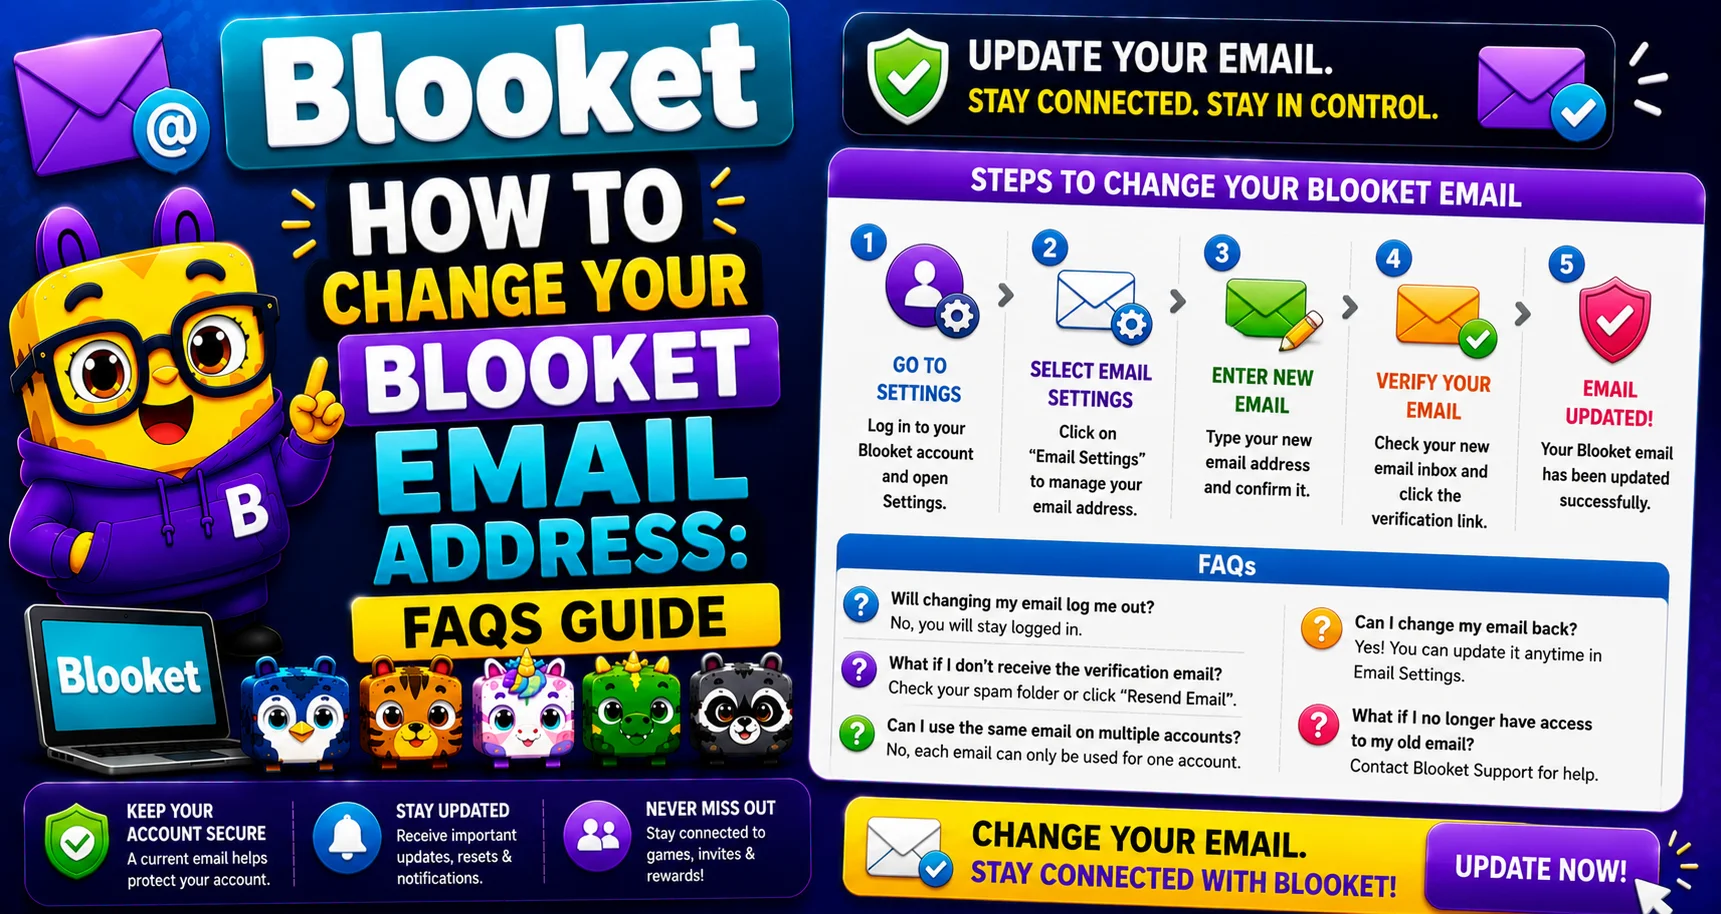
Step-by-Step: Changing Your Email Address (8 Steps)
→ Step 1: Navigate to Settings at dashboard.blooket.com/settings.
→ Step 2: Select the “Change Email” option in the “Profile” Edit Info section.
→ Step 3: Click “Confirm access” to verify you are the account owner.
→ Step 4: A verification email will be sent to your current email address with a confirmation code.
Check your inbox immediately. Check the spam/junk folder if it’s not visible within 2 to 3 minutes.
⚠️ Critical: Leave the Blooket window open while checking your email. Do not close the tab or navigate away; the verification session is tied to this open window. If closed, restart from Step 1.
→ Step 5: Enter the confirmation code into the box on the page and click “Submit.”
→ Step 6: Enter your new email address and click “Submit” to trigger a verification code for the new address.
→ Step 7: Retrieve the new verification code from your new email inbox and enter it before clicking “Submit.”
Keep the Blooket window open during this step as well.
→ Step 8: Your new email address is now reflected in the “Profile” section of your Settings page.
Log out and back in using your new email address to confirm the update is fully active.
Source: Verified from Blooket’s official documentation on changing your email address.
Troubleshooting
→ “Verification code” not arriving: Check spam/junk first. School email spam filters may block automated Blooket emails; whitelist the @blooket.com domain or use a personal email as your new address. Codes have limited validity windows; if expired, restart the process to get a fresh code.
→ “Change Email” option not visible: Your account may be Google SSO; contact support at contact-us@blooket.com.
→ “Email already in use” error: Another Blooket account already uses that address. Use a different email or contact support to investigate.
After Changing Your Email
- Update any saved passwords or browser autofill with the new login email.
- If you have Blooket Plus, verify that billing receipts go to the new address after the next renewal cycle.
- If you used the old email for Google Classroom integration, update that connection in Google settings.
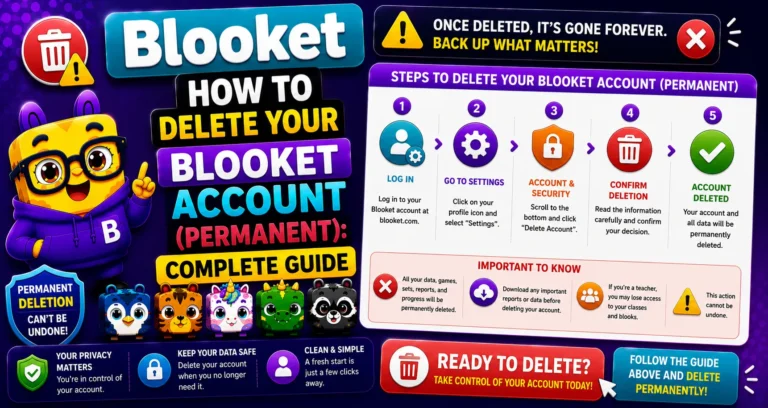
Account Deletion (if needed) → How to Delete Your Blooket Account
Where to Go Next
- Want to know more about the platform? See our full Blooket overview
- Curious about what your teacher sees? Visit the Blooket For Teachers
- Want the full student guides overview? See the Blooket For Students
Have another question? Please check the Frequently Asked Questions or Blooket Help Center.
Frequently Asked Questions
Why does my email address matter for billing, not just login?
Because it’s the identifier Blooket uses for billing receipts and Plus subscription communications. If it’s outdated, you may miss important billing notices or renewal information.
What happens if I close the browser tab during the verification process?
You’ll need to restart the entire process from Step 1. The verification session is tied to that specific open browser window, so closing it breaks the connection.
Can I change my email if I signed up with Google?
The standard 8-step process is designed for email/password accounts. If you signed up with Google, contact Blooket support at contact-us@blooket.com, since the standard flow may not apply.
Why should teachers, not just students, worry about school email deactivation?
Because teachers leaving a school or district face the same risk as graduating students; a school district switching email providers can also cut off access unexpectedly.
Do I need to update anything besides my Blooket login after changing my email?
Yes. Update saved passwords or browser autofill, confirm Plus billing receipts route to the new address after the next renewal, and update any Google Classroom integration tied to the old email.
What should I do if I never receive the verification code?
Check spam or junk first. If you’re on a school email, its spam filter may be blocking Blooket’s automated emails; whitelisting the @blooket.com domain or switching to a personal email can help.
What does the “Email already in use” error mean?
It means the new address you entered is already linked to a different Blooket account. You’ll need to use a different email or contact support if you believe this is an error.