How to Import Questions from a Spreadsheet (CSV) into Blooket?
This guide explained how to import a spreadsheet into Blooket, CSV import, import questions from Excel, spreadsheet template, and bulk question import. For more details, follow the links in this guide for more details and see the video.
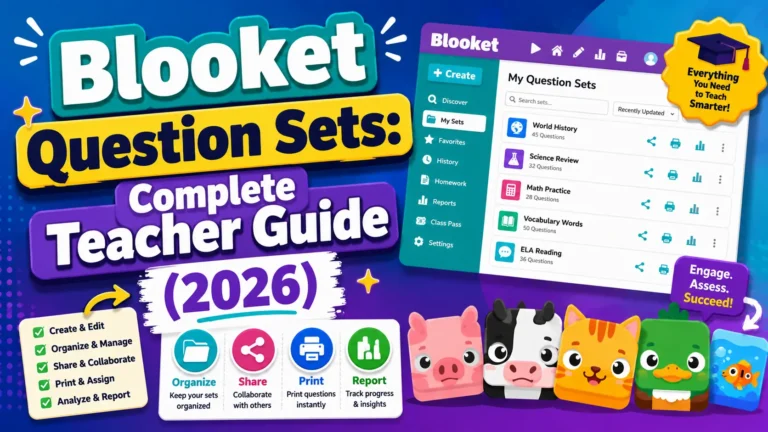
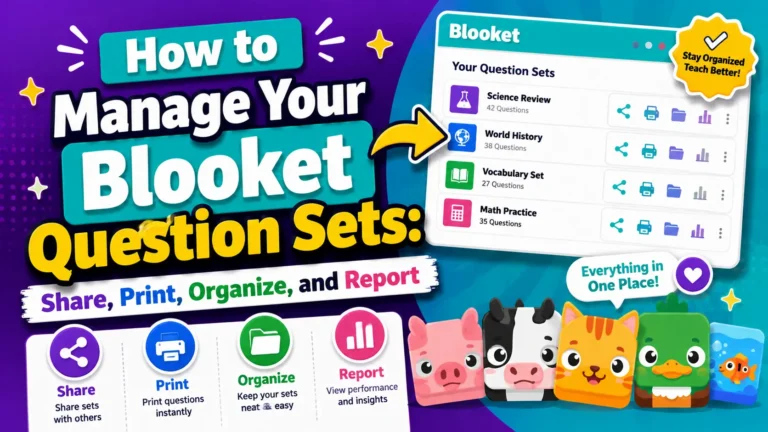
Full Guide About → Blooket Question Sets For Teachers
How to Import a Spreadsheet into Blooket?
Spreadsheet import is the most efficient way to build large Blooket question sets. Instead of adding questions one by one in the editor, you fill in a template in Google Sheets or Excel and upload the entire set at once. A 50-question review set that would take 30 minutes to build manually can be ready in under 10 minutes with a well-prepared spreadsheet.
When to Use Spreadsheet Import?
Use CSV import when:
- You’re building a large set (15+ questions) and don’t want to enter each one manually.
- You have questions stored in a shared Google Sheet, a curriculum database, or any other tabular format.
- You’re migrating questions from another platform that can export to CSV or a spreadsheet.
- Multiple teachers are collaborating on the same question set and sharing a Google Sheet.
For smaller sets or sets with lots of images or audio, building in the editor directly may be more convenient.
Step 1: Get the Blooket Template
Blooket provides a structured template that must be used for imports. Do not create your own spreadsheet format — the column headers and structure are specific and must be followed exactly.
To get the template for a new set:
- Click Create on your dashboard
- Add a title and description
- Select CSV Import as the creation method
- Click Create Your Set
- A pop-up appears with two options: Copy (opens the template in Google Sheets) or Download (downloads an Excel file)
To import into an existing set:
- Open the set in edit mode
- Look for the Spreadsheet Import option in the Set Edit page
- Follow the same Copy or Download steps
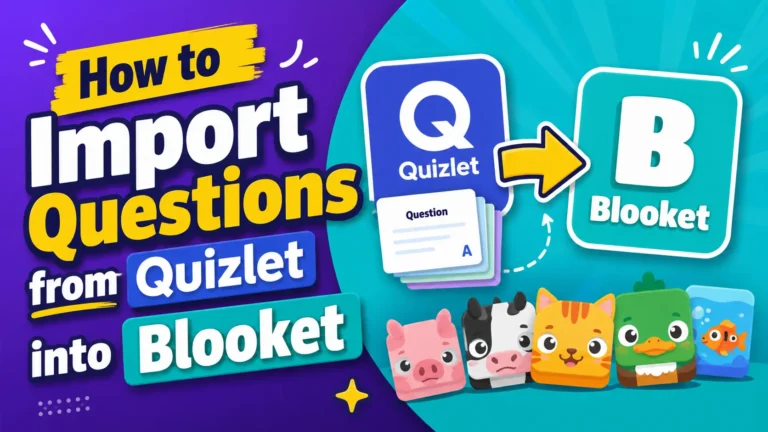
Step-by-Step Guide → How to Import from Quizlet into Blooket
Step 2: Fill in the Template
The template has pre-colored columns. The key rule: do not edit, move, or rename the colored (blue or gray) header cells. Only fill in the white content rows.
Here’s what each column means:
| Column | What to Enter |
| Question | The full question text |
| Answer 1 | First answer option |
| Answer 2 | Second answer option |
| Answer 3 | Third answer option (optional) |
| Answer 4 | Fourth answer option (optional) |
| Correct Answer(s) | The NUMBER of the correct answer’s position (1, 2, 3, or 4) |
| Time Limit | Seconds for this question (optional — leave blank for default) |
| J column | Type “typing” here to make a question. Typing Answer type |
→ Critical: The Correct Answer(s) column must contain only numbers (1, 2, 3, or 4), not the text of the answer. If “Photosynthesis” is the correct answer and it appears in the Answer 2 column, enter 2 in the Correct Answer(s) column — not “Photosynthesis.”
→ Typing Answer questions: Enter “typing” in the J column for any question you want as Typing Answer. Any responses in the answer columns will be imported as “Is Exactly” matching answers. You can change this to “Contains” after import in the editor.
→ Blank answer columns: Leave Answer 3 and Answer 4 blank for True/False or 2-option questions. Blooket handles blank answer columns correctly.
Full Explanation About → Blooket Question Types
Step 3: Download as CSV
When your spreadsheet is complete:
In Google Sheets:
- Click File → Download → Comma Separated Values (.csv)
- The file downloads to your device
In Excel:
- Click File → Save As
- Select CSV (Comma-delimited) as the file type
- Save
Step 4: Upload to Blooket
- Return to the Blooket tab where you set up your import
- Click Upload CSV
- Select the .csv file you just downloaded
- Blooket processes the file and creates the question set
If there are formatting errors, Blooket will flag them. Common issues:
- The Correct Answer(s) column contains text instead of a number
- A blue or gray header cell was accidentally edited
- A question row is missing a question title or has no answers marked correct
Fix the spreadsheet and re-upload.
Step 5: Edit and Finalize
After import, you’re taken to the Set Edit page, where you can review every imported question and make final adjustments:
- Add images or equations to individual questions
- Change Typing Answer matching from “Is Exactly” to “Contains” where appropriate
- Adjust time limits
- Fix any questions where the formatting didn’t import cleanly
- Add additional questions manually if needed
Click Save Set when finished.
Create Question Sets → How to Create a Blooket Question Set
Pro Tips
→ Use Google Sheets for collaboration. Multiple teachers can fill in the same shared template simultaneously, making co-authoring a large review set much faster than having one person build it alone.
→ Pre-organize by difficulty. Put easier questions first, harder ones later. While Shuffle Questions in game settings randomizes the order for students, having a logical sequence in your spreadsheet makes editing easier.
→ Build a master question spreadsheet. Some teachers maintain a permanent Google Sheet for each course as a question bank, adding questions throughout the year. When they need a set for a specific assessment, they copy the relevant rows into a new Blooket template and upload.