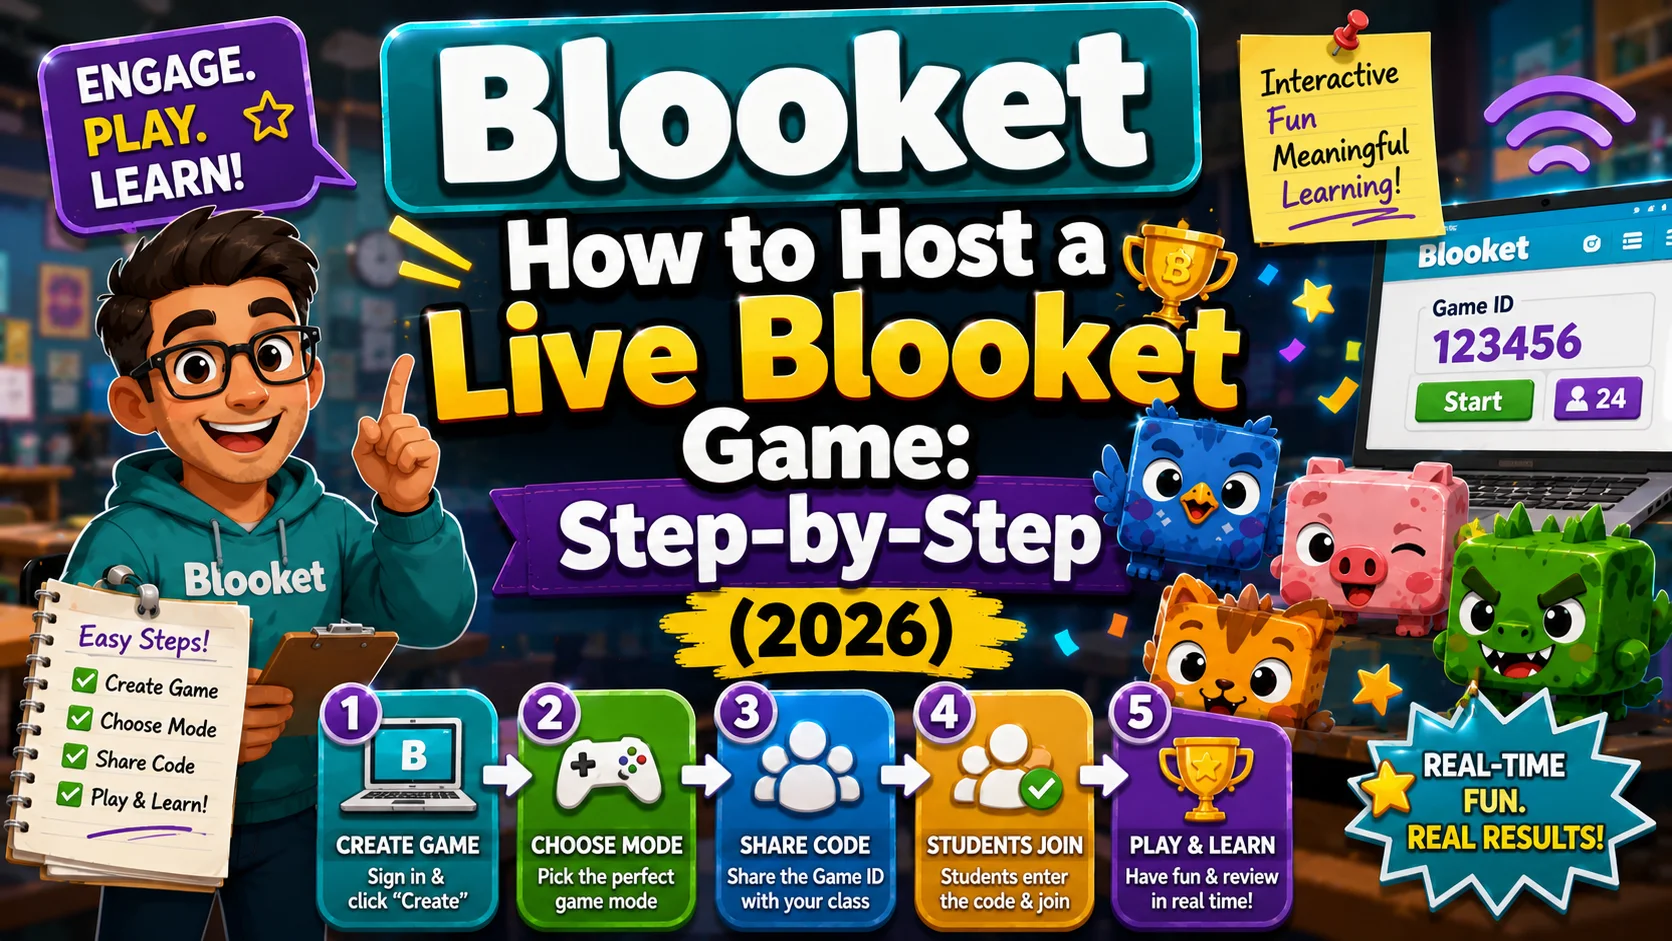
How to Host a Live Blooket Game: Step-by-Step Teacher Guide
Hosting a Blooket game is the action that turns a question set into a live classroom experience. The process takes about two minutes from start to launch. This guide explains in detail every step on how to host Blooket game with the exact labels you’ll see on screen, practical notes on what each step means in a real classroom context, and clear guidance on where Blooket Plus and Free accounts differ.
How to Host Blooket Game?
What You Need Before You Start?
- A Blooket teacher account (free at blooket.com)
- A question set saved in My Sets or accessible through Discover
- Student devices with a browser — phones, Chromebooks, tablets, and laptops all work
- A way to share the Game ID with students (projector, QR, or digital link)
Students do not need Blooket accounts to join a live game. They join as guests with a nickname.
Full Guide About → Blooket Hosting & Reports
Step 1: Log in and Navigate to Your Question Set
Go to blooket.com and log in. From your dashboard:
- Click My Sets to see question sets you’ve created or saved
- Click Discover to search the public library for a set to use
- Click Curriculum inside Discover to browse Blooket-verified sets by subject and grade
Find the set you want to use and open its preview page. Confirm the question count and content are appropriate for today’s session before proceeding.
Teacher tip: Run any set in Solo mode once before hosting it with students. This previews the game experience, confirms all questions are correct, and reveals any timing issues with specific questions.
Step 2: Click Host
On the set’s preview page, click the Host button. It opens the game mode selection screen.
If you’re in My Sets, you can also click the Host icon on the set card without opening the preview page first.
Step 3: Select a Game Mode
The game mode screen shows all available live modes with key stats for each:
- Skills (Speed & Accuracy / Strategy / Memory)
- Difficulty (Simple / Normal / Complex)
- Ideal Time (5–10 minutes)
- Question Type (Synced or Self-Paced)
- Player Range (minimum, ideal, maximum)
- For a first hosting session: Start with Classic (simplest mechanics, 5 minutes) or Gold Quest (most engaging, 7 minutes). Both require zero explanation for students.
- For ongoing sessions: Match the mode to your session goals. See the complete decision guide for detailed mode recommendations by grade level, energy level, and learning goal.
Complete Guide About → All Game Modes Explained
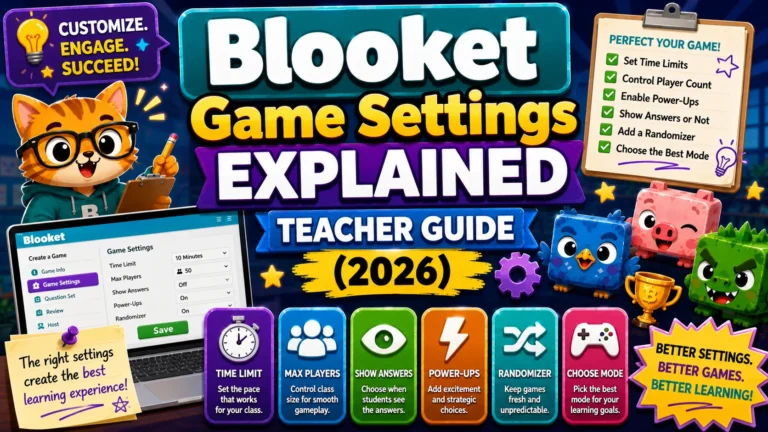
Step 4: Configure Game Settings
After selecting a mode, you reach the Game Settings screen. This is where most teachers skip important steps — take 60 seconds here before clicking Host Now.
Shuffle Questions (Recommended: ON)
When enabled, each student sees the question set in a different order. This prevents answer sharing among neighboring students, since they won’t be on the same question at the same time.
Shuffle Answers (Recommended: ON)
Randomizes the position of multiple-choice answer options for each student. Prevents students from memorizing positions (“the answer was always B”) over repeated plays of the same set.
Step-by-Step → Game Settings Explained
Question Time Limit:
Sets the number of seconds students have to answer each question. The game mode sets the default. Adjust based on your content:
- 10–15 seconds — Fast recall of facts, math fluency, simple vocabulary
- 20–25 seconds — Concept recall, moderate complexity
- 30+ seconds — Reading-based questions, longer prompts, complex reasoning
Random Names (Recommended: ON for younger students)
When enabled, Blooket assigns random auto-generated nicknames to all players. Students see their assigned nickname but cannot change it.
Why it matters: Without Random Names, students type their own nicknames. In a live classroom, this commonly results in inappropriate names, other students’ names, or intended aliases that make your post-game report useless for identifying individual performance. Random Names eliminates this in one click.
Blooket’s own recommendation: “We suggest that students use their real names to make after-game reports more helpful.” If you want real names in reports, disable Random Names and brief students to enter their actual first name and last initial before joining.
Hide Account Creation (Situation-Dependent)
When enabled, the prompt asking students to create a Blooket account is hidden from the join screen. This keeps the joining process simple and reduces distraction during class.
- When to enable: You want students to join quickly as guests without having to sign up.
- When to disable: You want students who have Blooket accounts to log in and earn tokens/XP from the session.
Step 5: Click Host Now
Click Host Now. Blooket generates your game session and displays:
- A 7-digit Game ID in large text at the center of the screen
- A QR Code to the right of the Game ID
- A Join Link — copy it with the Copy Link button
Your game is now live. Students can join immediately.
Code Sharing Guide → How to Share a Game Code
Step 6: Wait for Students to Join
The lobby screen shows each student’s name or assigned nickname as they join. You’ll hear a joining sound effect for each new player — click the sound icon to mute if needed. A full-screen button expands the display for projector visibility.
- In-person classes: Display the lobby on your projector. Students see their names appear, which confirms they’ve successfully joined.
- Virtual classes: Share the Join Link in your LMS, Google Classroom, or chat. Students click the link, which takes them directly to the join screen.
- Late joiners: Students who join after the game has started can still enter using the same Game ID or Join Link — the code stays active for the entire session.
Step 7: Start the Game
When your target number of students has joined, click Start. The game begins simultaneously for all players.
You do not need to wait for every student. If some students are still joining, they’ll enter the game in progress. If a student accidentally closes their browser, they can rejoin using the same Game ID and resume their progress.
Step 8: Monitor During the Session
Your host screen shows:
- Live leaderboard — Updating in real time as students earn points
- Player count — How many students are currently active
- Question feed (mode-dependent) — Which question is currently active, and response rates
During the game, your role is primarily to watch and manage the room. Blooket runs the scoring, timers, and transitions automatically.
Common in-session actions:
- Announce current leaderboard standings to build excitement
- Check for students who appear stuck (not moving on the leaderboard) — they may need a device refresh
- Be ready to answer “Why is the game going slowly?” — usually a network issue on one student’s device, not a platform problem
Step 9: End the Game
Click End Game from your host screen at any time. You can also let the game run to its natural conclusion (timer expiry or game mode completion).
After the game ends, Blooket displays the final leaderboard on your screen. Students see their final rank and score.
Step 10: Access the Report
Click View Report in the top-right corner of the game-end screen to access the full report immediately. If you navigate away, find the report later by going to your dashboard → History tab.
Full Report Reading Guide → How to Read Blooket Game Reports
Common Hosting Mistakes (And How to Avoid Them)
| Mistake | Why It Happens | Prevention |
| Students can’t find play.blooket.com | They try the main blooket.com homepage | Write play.blooket.com on the board explicitly |
| Inappropriate nicknames appear | Random Names was left disabled | Enable Random Names before every session |
| Report shows “Student1, Student2” | Random Names was enabled without a real name briefing | Brief students to type real names before joining, or use exported reports |
| Game ID expired | The teacher navigated away before the students joined | Don’t leave the host screen until all students have joined |
| One student’s game is lagging | Poor local network on their device | Have the student close other tabs or switch to a different browser |