How to Create Custom Blooket Blooks: Class Pass Guide For Students
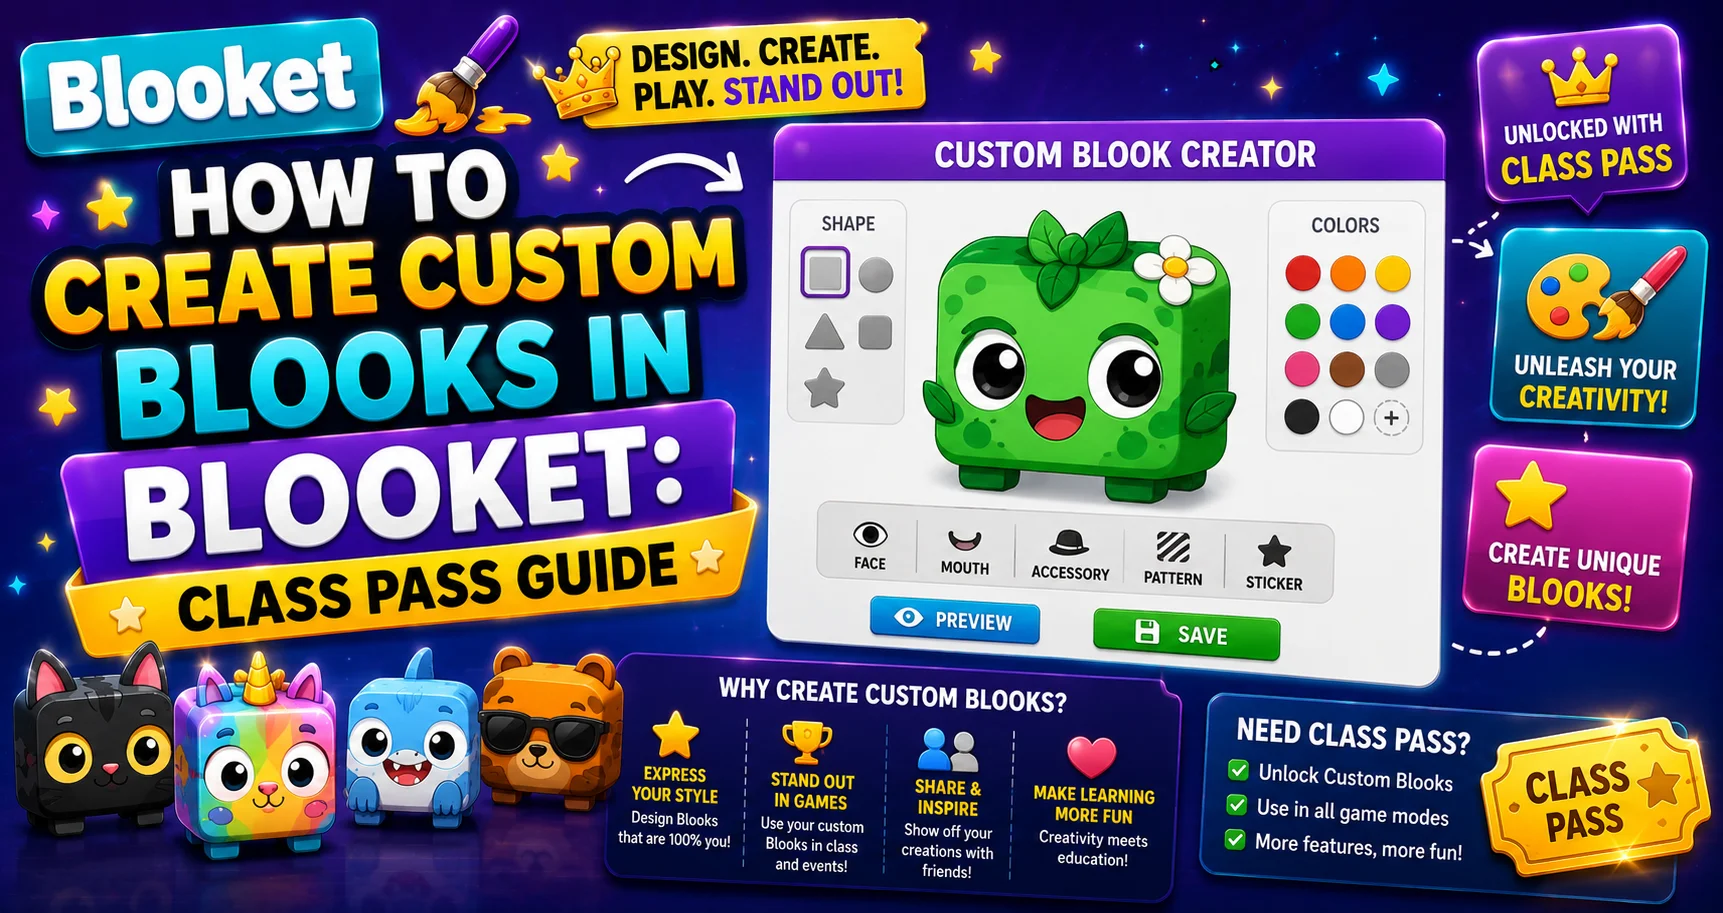
Custom Blooks are player-designed avatars you build from scratch using cosmetic parts earned through the Class Pass — Blooket’s XP-based progression system. Unlike collected Blooks that are randomly drawn from packs, Custom Blooks are entirely intentional: every feature of your avatar is a choice you made. This detailed guide explains how to create custom Blooket Blooks and more.
How to Create Custom Blooket Blooks:
(Step-by-Step)
Learn More About → Blooket Blooks Collection For Students
What is the Class Pass?
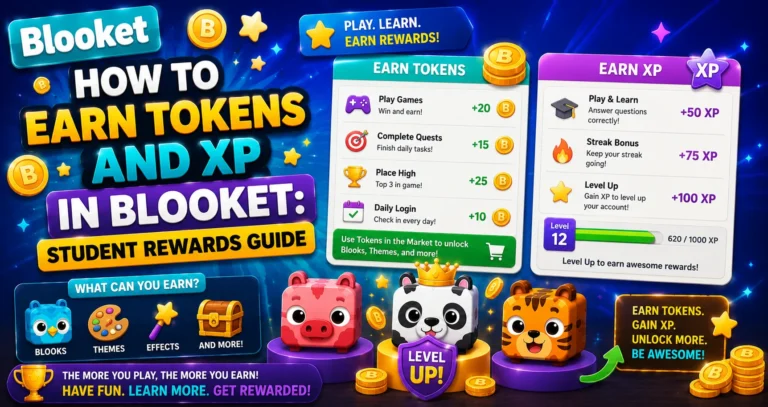
The Class Pass is a 100-level progression system powered by XP (experience points). Every game session you complete earns XP — up to 300 per day. Each Class Pass level you reach unlocks a new cosmetic part for the Custom Blook editor.
Cosmetic types available across levels include: base body shape and color, hair, eyes, eyebrows, nose, cheeks, mouth, glasses, hat, held item, and clothing. Early levels unlock basic options. Higher levels unlock more elaborate and creative cosmetics.
Starting, your customization options are limited — just a small set of bases and a few other parts. As you level up the Class Pass, your editor expands with new possibilities.
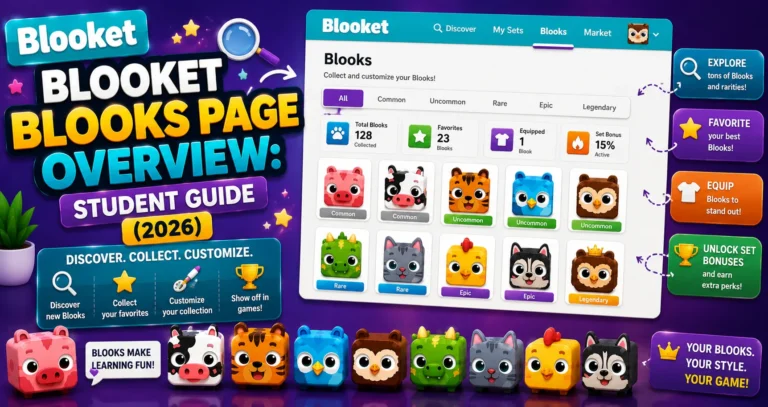
Complete Guide About → Blooket Blooks Page Overview
Step-by-Step: Creating Your Custom Blook
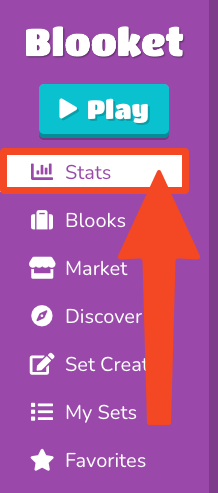
Step 1: Navigate to the Stats page.
⚠️ Important navigation note: Custom Blook creation is on the Stats page, not the Settings page. It is the most common confusion for new students. The Settings page controls account information (username, email, password). The Stats page controls all profile customization, including Custom Blooks and your profile Blook.
Access the Stats page from your Blooket dashboard by clicking Stats in the navigation.
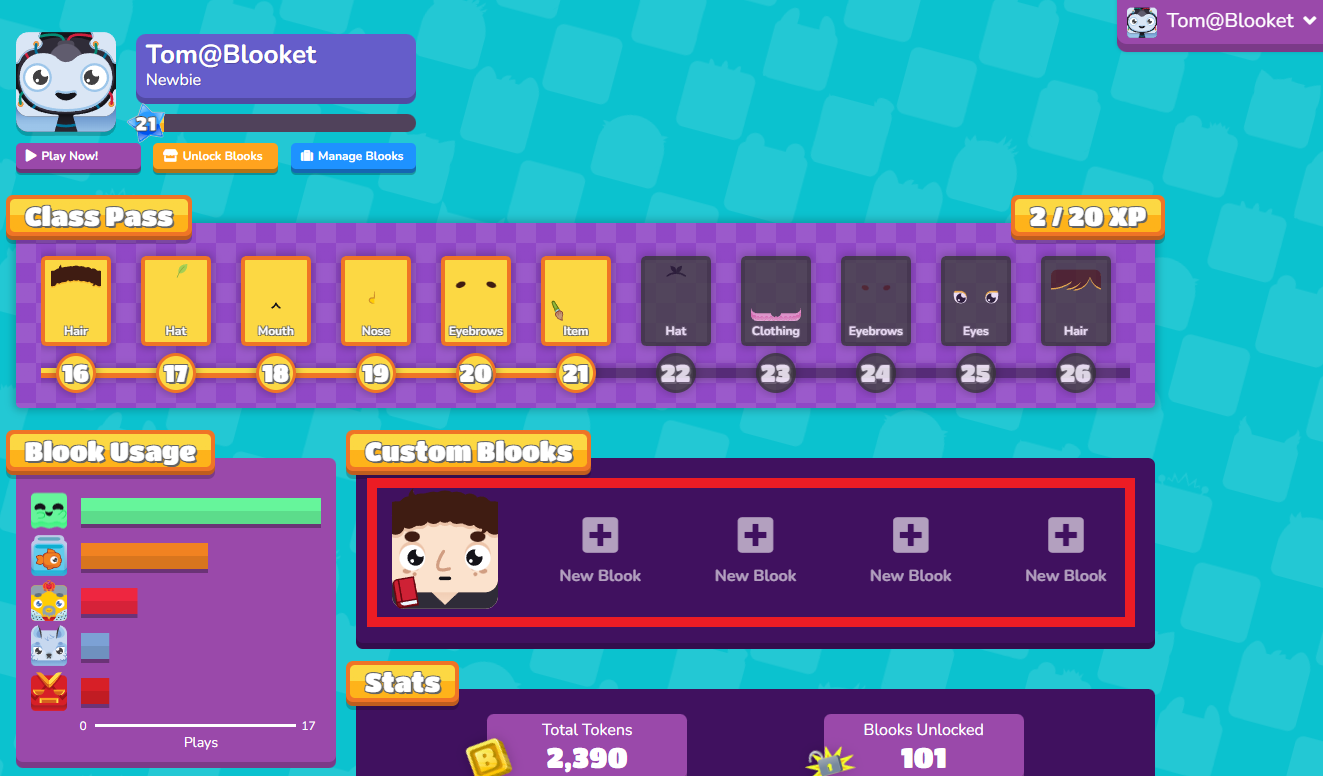
Step 2: Select “New Blook.”
On the Stats page, click the “New Blook” button to open the Custom Blook editor. It shows all cosmetic categories, with your currently unlocked options available and the locked options greyed out.
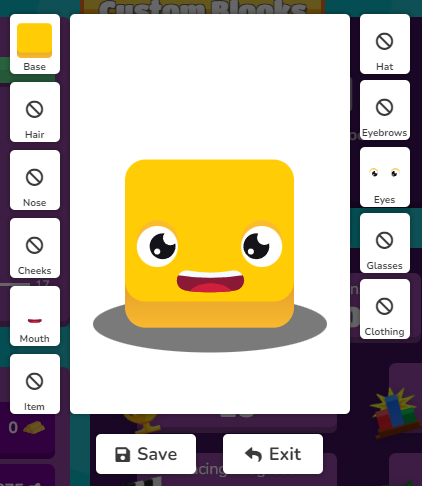
Step 3: Use your earned Class Pass collectibles to customize your Blook!
Click through each cosmetic category and select the options you want. The preview updates in real time as you make choices. Mix and match freely — there’s no penalty for experimenting, and nothing is saved until you click Save.
Step 4: Once your Blook is complete, select “Save”!
Your Custom Blook is saved to your collection. You can save up to 5 different Custom Blooks simultaneously, so you can have multiple designs ready to switch between.
Earn more XP to level Class Pass → How to Earn Blooket Tokens and XP
Editing an Existing Custom Blook
To modify a Custom Blook you’ve already saved:
- Navigate to the Stats page
- Click on the saved Custom Blook you want to edit
- The editor reopens with your current design loaded
- Make your changes and click Save
Getting More Cosmetics
- Class Pass leveling (primary method): Keep playing games every day. XP accumulates steadily — consistent daily play across a school year will get you well into the Class Pass levels.
- Weekly Shop (faster for specific parts): The Market’s Weekly Shop sometimes features Custom Blook cosmetic parts purchasable with tokens. If a specific hat or clothing item appears in the shop and you want it now rather than waiting for the Class Pass level that would unlock it, buy it immediately — Weekly Shop inventory rotates regularly.
Using Your Custom Blook in Games
After saving, your Custom Blook appears in the Blook picker alongside your collected pack Blooks. Set it as your active profile Blook from the Stats page, and it will display next to your name in every game you play.
Equip your Custom Blook → How to Change Your Profile Blook