Blooket Hosting And Reports: Complete Guide for Teachers
Last verified: August 12, 2026
Quick Answer: Blooket hosting and reports work together as a complete instructional loop: you host a live game or assign homework, students play, and Blooket generates a permanent report showing accuracy by student and by question. This guide explains the full hosting workflow, the three ways students join, and how to read and act on the reports afterward.
Blooket Hosting and Reports for Teachers
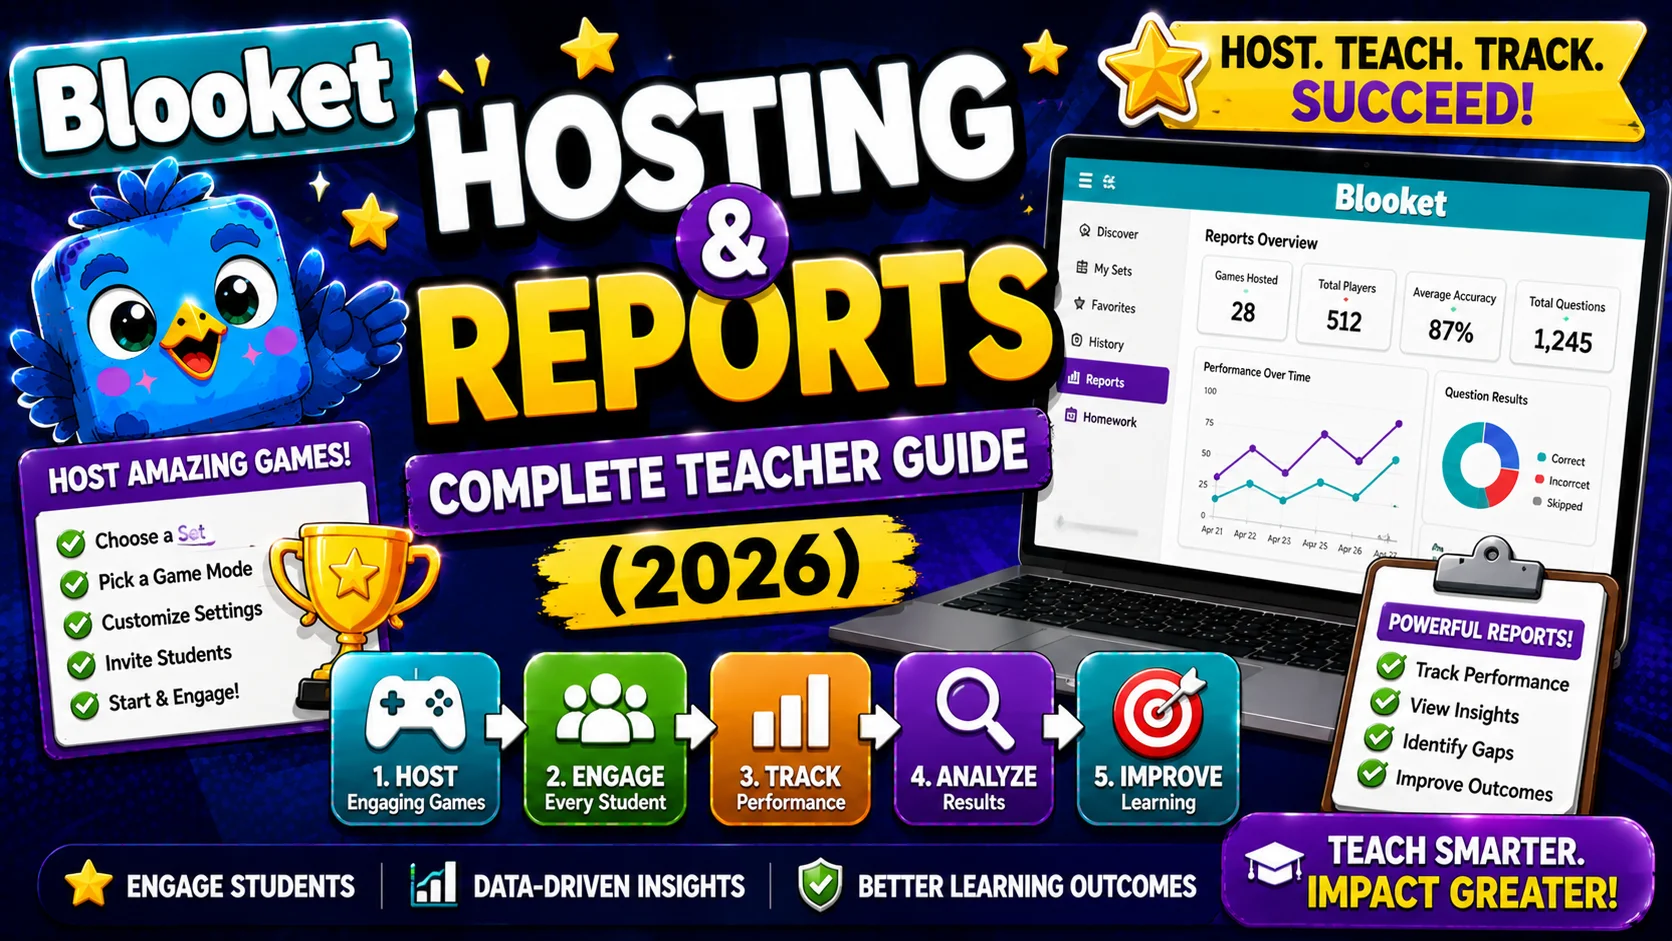
Blooket’s hosting and reporting system is where classroom game-based learning becomes a real instructional tool. Hosting is how you run the live experience, and reporting is how you convert that experience into actionable data. Used together, they close the loop between student engagement and measurable learning results.
This guide covers all the features of Blooket hosting and reports, from choosing your question set to reading individual student performance data after the game ends. For step-by-step detail on any individual feature, follow the links to the dedicated articles in this section.
Note: Feature and setting availability between free (Starter) and Blooket Plus accounts is clearly marked throughout this guide.
Complete Guide About → Blooket Game Modes for Teachers
1: Hosting a Live Game
What Does Hosting Mean?
When you host a game, you create a live session with a unique Game ID. Students join from their own devices, you choose when the game starts, and Blooket handles everything else: scoring, transitions, timers, and leaderboard updates. The hosted session is synchronous: you and your students are online at the same time.
This is distinct from homework mode (students complete an asynchronous assignment before a deadline) and solo mode (students play independently without a host).
The Hosting Workflow at a Peek:
- Log in to your teacher account at blooket.com.
- Select a question set from My Sets, Discover, or Curriculum.
- Click Host to open the game mode selection screen.
- Choose a game mode appropriate for your session.
- Configure game settings.
- Click Host Now to launch; Blooket generates your Game ID, QR code, and Join Link.
- Share the Game ID, QR code, or link with students.
- Wait for students to join the lobby, then click Start.
- Monitor the live session from your host screen.
- End the game manually or let it conclude naturally.
Step-by-Step Guide → How to Host a Blooket Game
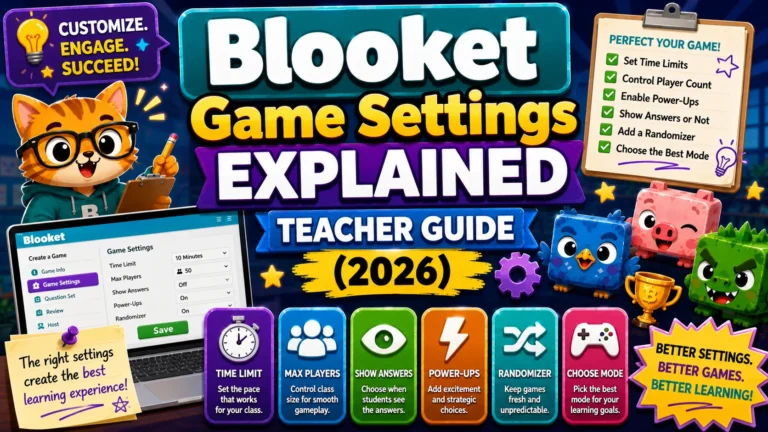
Blooket Game Settings That Matter
Before launching, you configure how the session behaves. The most important settings are:
- Shuffle Questions: Randomizes question order so students see different sequences.
- Shuffle Answers: Randomizes the position of multiple-choice options.
- Question Time Limit: Seconds per question (mode-dependent).
- Random Names: Assigns auto-generated nicknames instead of letting students type their own, a simple toggle that prevents inappropriate nicknames from appearing.
- Hide Account Creation: Removes the student signup prompt from the join screen.
Each setting affects the session in meaningful ways for classroom management, report quality, and student experience.
Full Breakdown → Blooket Game Settings Explained
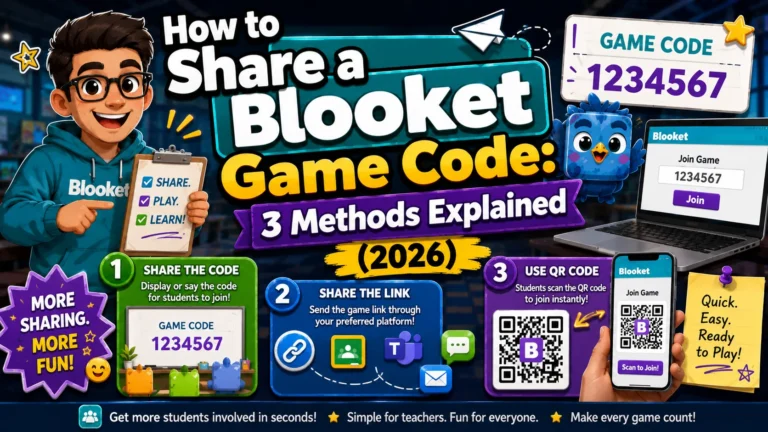
Three Ways to Get Students into Your Game
Once your game launches, students join through one of three methods:
- Game ID: A 7-digit code displayed on your screen. Students go to play.blooket.com, enter the code, type a nickname, and wait in the lobby. Best for in-person classes where everyone can see your projector.
- QR Code: Students scan the code displayed on your screen with their device camera. Best for classes where students have phones, and you want to eliminate code-entry errors.
- Join Link: A direct URL you copy and paste into Google Classroom, your LMS, email, or chat. Students click it and are taken directly into the lobby. Best for virtual and hybrid classes.
Complete Sharing Guide → How to Share a Blooket Game Code
2: Homework Mode
What Does Homework Mode Do?
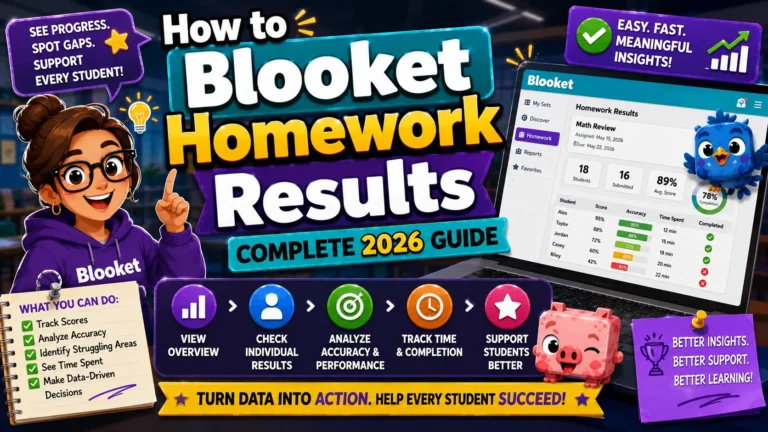
Homework mode creates an asynchronous assignment. Instead of joining a live session, students access it via a unique link or QR code at their convenience before a deadline you set. They choose their own solo game mode and play until they reach the specified Correct Goal, the minimum number of correct answers required for completion.
Blooket automatically tracks who completed the assignment, their accuracy, and their time played. You can review game results after each session from the Homework tab on your Blooket dashboard; no paper collection is required.
Key limits by account type:
| Feature | Free (Starter) | Blooket Plus |
| Maximum deadline window | 14 days | 365 days |
| Report download | Not available | Spreadsheet download |
| Per-question student detail | Not available | Full breakdown |
Full Assignment Guide → How to Assign Homework in Blooket
Reading Results → How to View Blooket Homework Results
3: Reports and Data
Where to Find Reports?
Every hosted game and closed homework assignment generates a report stored permanently in your History tab. Access it from your dashboard at any time; reports do not expire. You can also view a report immediately after a live game by clicking View Report in the top-right corner of the game-end screen, before navigating away.
The History page shows every session at a glance:
- Game mode used
- Question set title
- Number of players
- Date played
Filter by date range or sort ascending/descending to find a specific session quickly. Blooket also allows bulk deletion to keep your History organized if you host frequently.
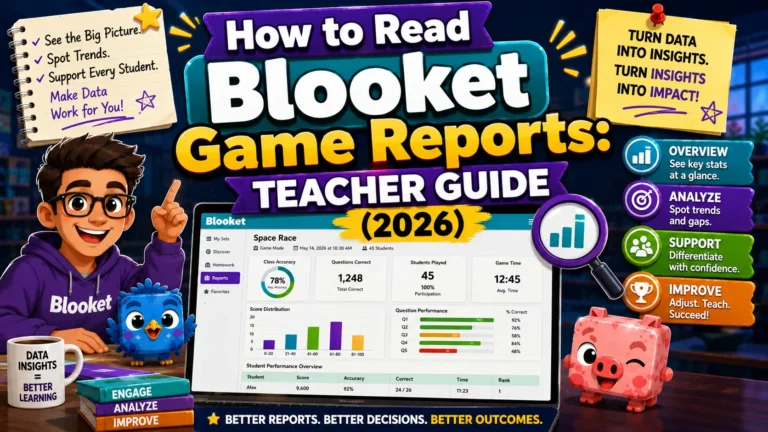
What does a Game Report Contain?
Each report has three levels of data:
- Level 1, Session Summary: Total players, average accuracy, total questions answered, game mode used, and question set name.
- Level 2, Leaderboard View: Every student’s name, accuracy percentage, question breakdown score, and time played, ranked by performance.
- Level 3, Question Analysis: A list of every question in the set showing accuracy rate across the class. This section can be sorted by Question Number (original order) or by Incorrect % (highest error rate first), the most useful view for identifying content gaps.
Blooket Plus adds per-question details, including which specific answers students selected, how many attempts each question received, and each student’s performance on each question.
Complete Guide About → How to Read Blooket Game Reports
Using Reports to Improve Instruction
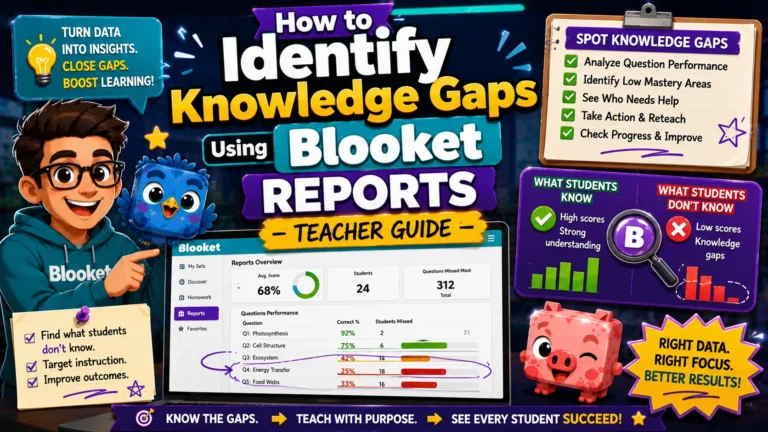
The data Blooket generates is not just for grading; it is a diagnostic tool. When you sort questions by Incorrect % after a review session, the questions at the top of the list are the ones your class struggles with most. Those are the exact concepts that need re-teaching before the next assessment.
Blooket Plus users can go further: click any high-error question to see a full breakdown of which wrong answers students selected. A pattern of students choosing the same wrong answer points to a specific misconception, not just “they don’t know this,” but “they believe the wrong thing, specifically.”
Gap Analysis Guide → How to Identify Knowledge Gaps Using Blooket Reports
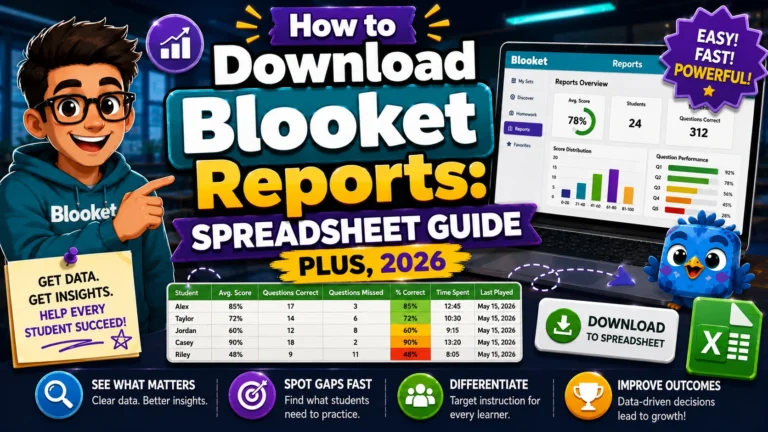
Data Export Guide → How to Download Blooket Reports as a Spreadsheet (Plus)
The Instructional Cycle: Hosting + Reporting Together
The most effective way to use Blooket is as a closed loop:
Host a review game, read the report, identify the top 2 to 3 lowest-accuracy questions, re-teach those concepts, then host another game with a revised set, and repeat.
Each iteration of this cycle produces a class that is measurably better prepared than the last. The game layer drives the engagement; the report layer drives the instruction. Blooket’s reporting data tends to be more immediately useful for next-day planning than a traditional quiz score alone, because it is linked to specific questions and concepts rather than a single combined number.
Free vs. Plus: Hosting and Reporting Differences
| Features | Free (Starter) | Blooket Plus |
| Max players per live game | 60 | 300 |
| Homework deadline max | 14 days | 365 days |
| History page | Full access | Full access |
| Question-level accuracy data | Yes | Yes |
| Per-question answer breakdown | No | Yes |
| Individual student report | Basic | Full (downloadable) |
| Report download (spreadsheet) | No | Yes |
| Opportunities for growth feature | No | Yes |
| Bulk delete reports | Yes | Yes |
Source: verified from Blooket’s official Hosting Games documentation.
Where to Go Next
- Want to know more about Blooket? See our full Blooket guide
- Want the full teacher toolkit overview? Visit the For Teachers hub
- Introducing this to students directly? See the For Students hub
Have a different question? Check our Frequently Asked Questions or Blooket Help Center
Frequently Asked Questions
What is the difference between hosting a live game and assigning homework?
Hosting creates a synchronous session where you and your students are online at the same time. Homework mode creates an asynchronous assignment students complete independently before a deadline, with no live session required.
How long are Blooket reports kept?
Reports are stored permanently in your History tab and do not expire unless you manually delete them.
What is the most useful way to sort a question report?
Sort by Incorrect % rather than Question Number. This surfaces the questions your class struggled with most at the top of the list, making it the fastest way to identify re-teaching priorities.
Do I need Blooket Plus to see which questions students got wrong?
No. Basic question-level accuracy is available on the free (Starter) plan. Blooket Plus adds the deeper layer: which specific wrong answers students selected and how many attempts each question received.
What are the three ways students can join a hosted game?
Game ID (a 7-digit code), QR code, or a direct Join Link. Each suits a different classroom setup: Game ID for in-person classes with a projector, QR for phone-heavy classrooms, and Join Link for virtual or hybrid classes.
Can I download my reports as a spreadsheet?
Yes, but only on Blooket Plus. Free (Starter) accounts can view reports on-screen but cannot export them as a downloadable file.
What is the recommended workflow for using hosting and reports together?
Host a review game, read the report, identify the two or three lowest-accuracy questions, re-teach those specific concepts, then host again with a revised set. Repeating this cycle produces measurable improvement over time.