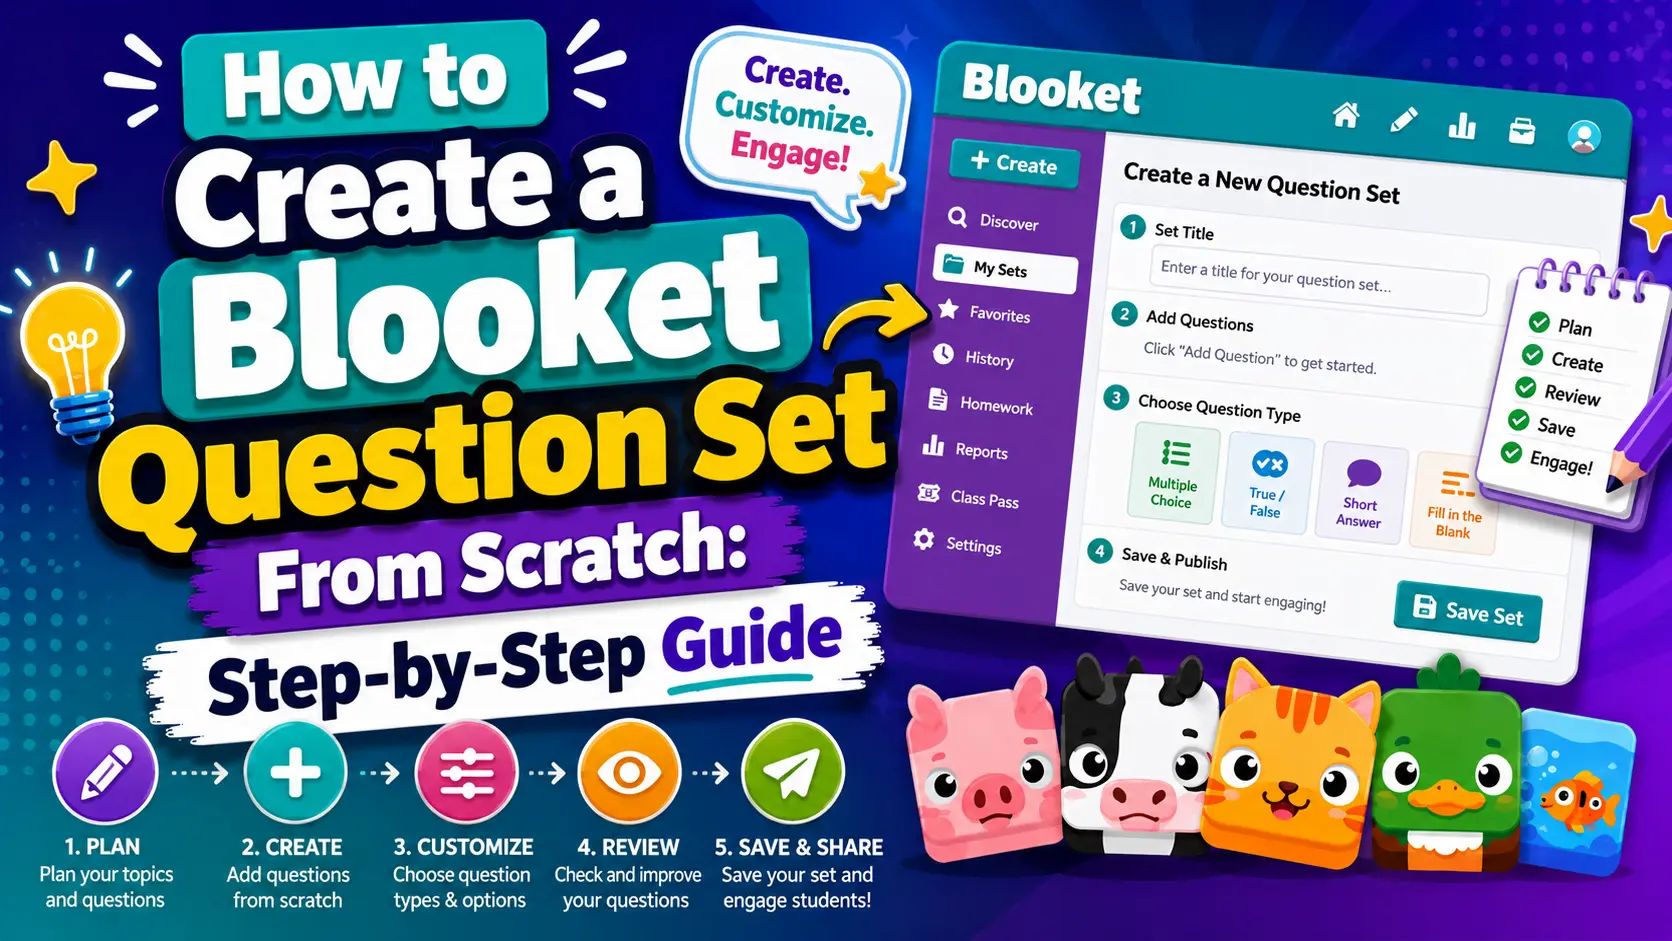
How to Create a Blooket Question Set From Scratch: Step-by-Step Guide
Last verified: August 8, 2026
Quick Answer: From your teacher dashboard, click Create, select “Start From Scratch,” fill in a title and privacy setting, then use the question editor to add 2 to 4 answer options per question, mark the correct one(s), and set a time limit (20 seconds by default). Click Save Set when done. Sets of 15 to 25 questions work best for most classroom sessions.
Creating your own Blooket question set gives you complete control over the content, custom questions for your specific curriculum, your current unit, and your exact grade level. This guide walks through every step, from naming your set to saving your final question. For a broader overview of every way to get a question set, see our complete Question Sets guide.
How to Create a Blooket Question Set:
(Scratch vs. Import)
Creating a Blooket question set from scratch is the right choice when:
- The content is proprietary (your own assessments, readings, or tasks)
- You need questions aligned to specific standards or units
- You want Typing Answer questions that require precise responses
- You want to embed images, equations, or audio for subject-specific needs
- No quality public set exists for your topic
If you already have content in Quizlet, a spreadsheet, or another format, importing is faster. If you want a starting draft, the Khanmigo AI generator can produce one in seconds. But for full control, building a question set from scratch is always the most reliable path.
Step 1: Open the Set Creator
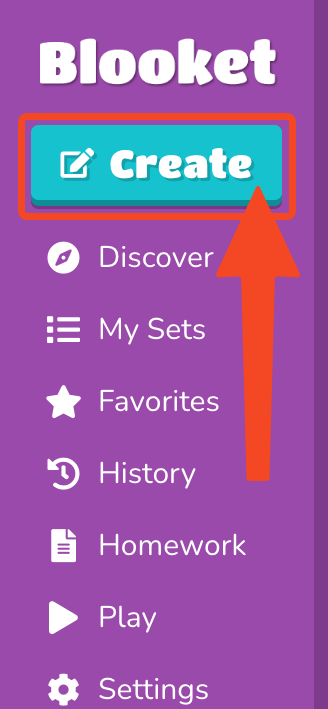
From your teacher dashboard, click the Create button in the left sidebar or the top navigation. It opens the Set Creator page.
On this page, you’ll complete two stages:
- Setting up the basic information (title, description, image, privacy)
- Add individual questions in the question editor.
Step 2: Fill in Set Information
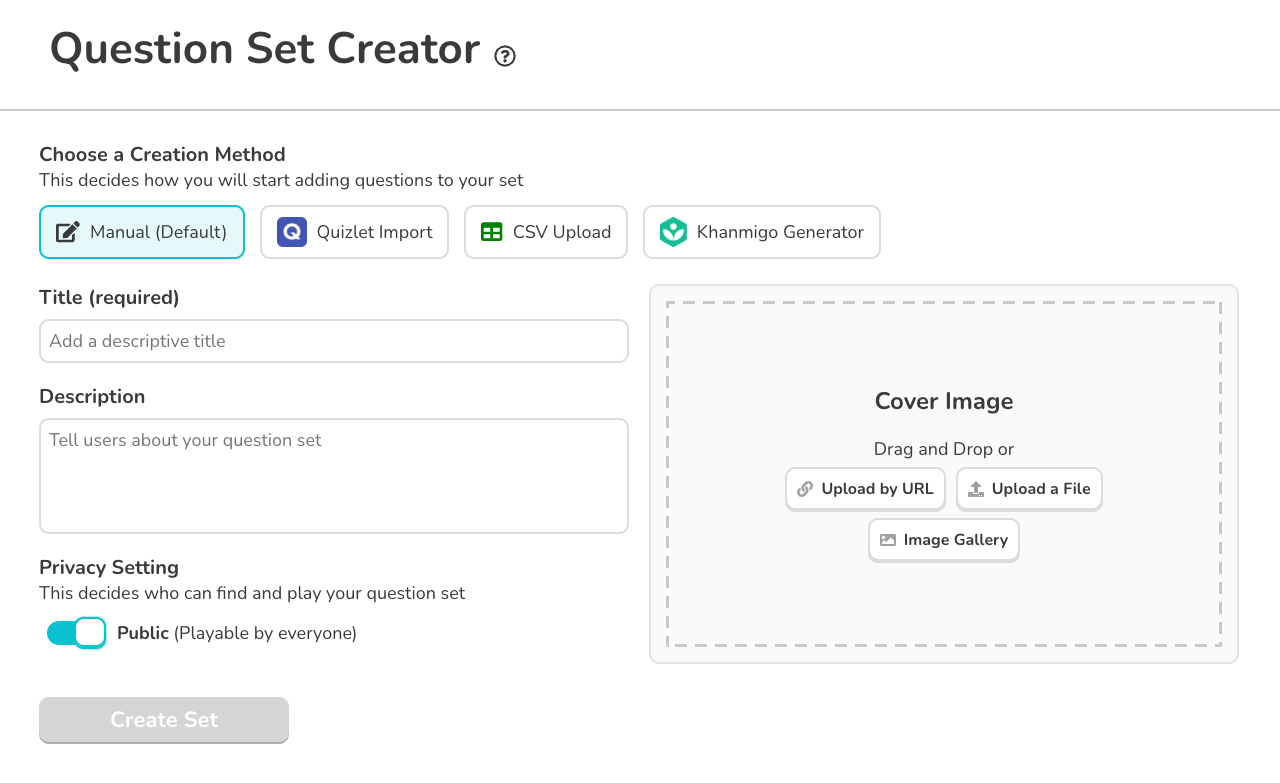
- Title (Required): Give your set a clear, descriptive name. A good title should tell any teacher, including yourself a month from now, exactly what the set covers. For example: “5th Grade Fractions Review, Adding Unlike Denominators” is better than “Math Set 3.”
- Description (Optional): Add a summary of what the set covers, the grade level it targets, and any notes for other teachers. The Discover page listing shows this if your set is public.
- Cover Image (Optional): Add a visual to help identify the set at a glance. You can use the Blooket gallery, upload your own file, or drag and drop an image.
- Privacy Setting: Choose between:
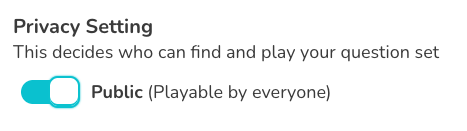
- Public: The set appears in Discover and can be found by anyone searching Blooket. You can also generate a shareable link. The correct choice for sets you want to share with colleagues or contribute to the community.
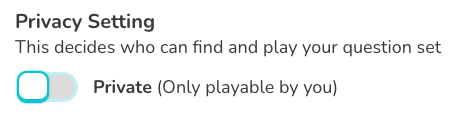
- Private: Only visible to you. Does not appear in Discover. Cannot be shared via link. Still fully usable for your own games. The correct choice for class-specific assessments you don’t want publicly accessible.
You can change the privacy setting at any time after creation.
Step-by-Step Guide → How to Make a Set Public or Private
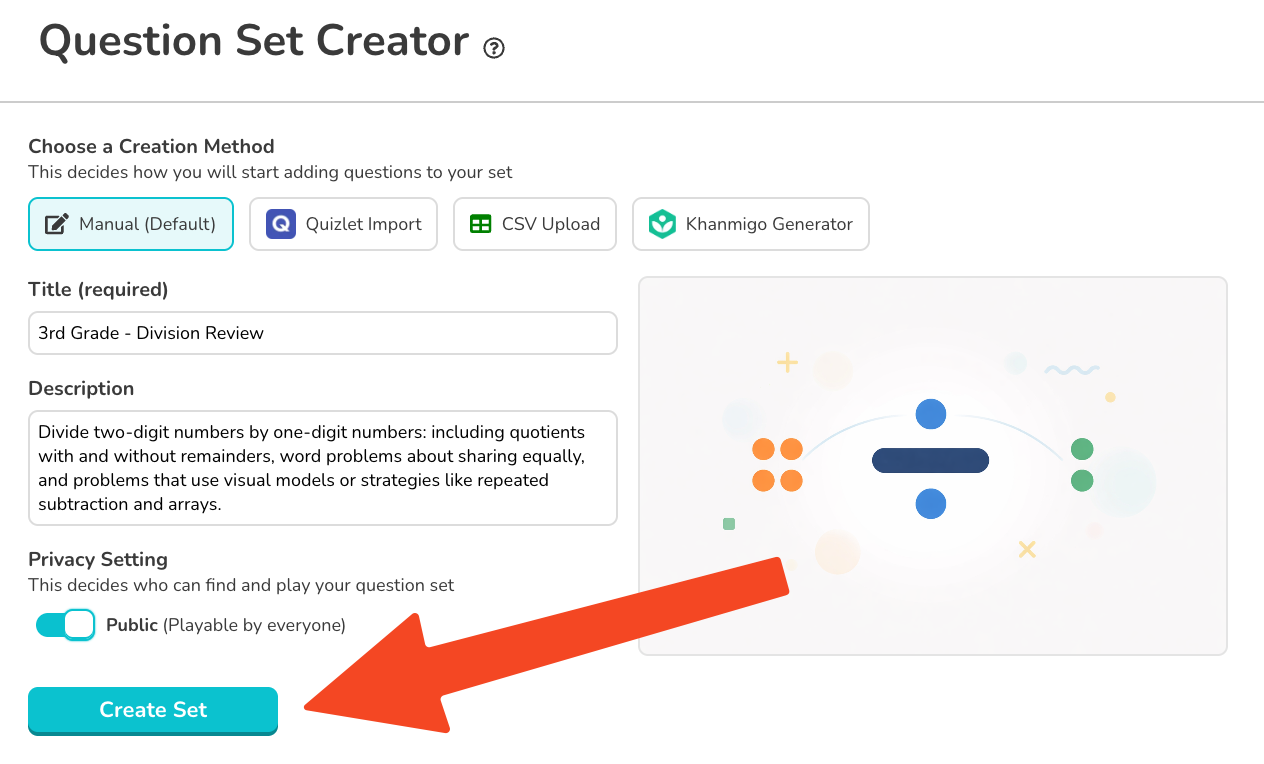
- Creation Method: At the bottom of the setup screen, choose Start From Scratch to build questions manually. Click Create Your Set to proceed to the question editor. The other options, Quizlet Import and CSV Import, are covered in separate guides.
Step-by-Step → How to Import Questions from Quizlet
Full Guide → How to Import Questions from a Spreadsheet (CSV)
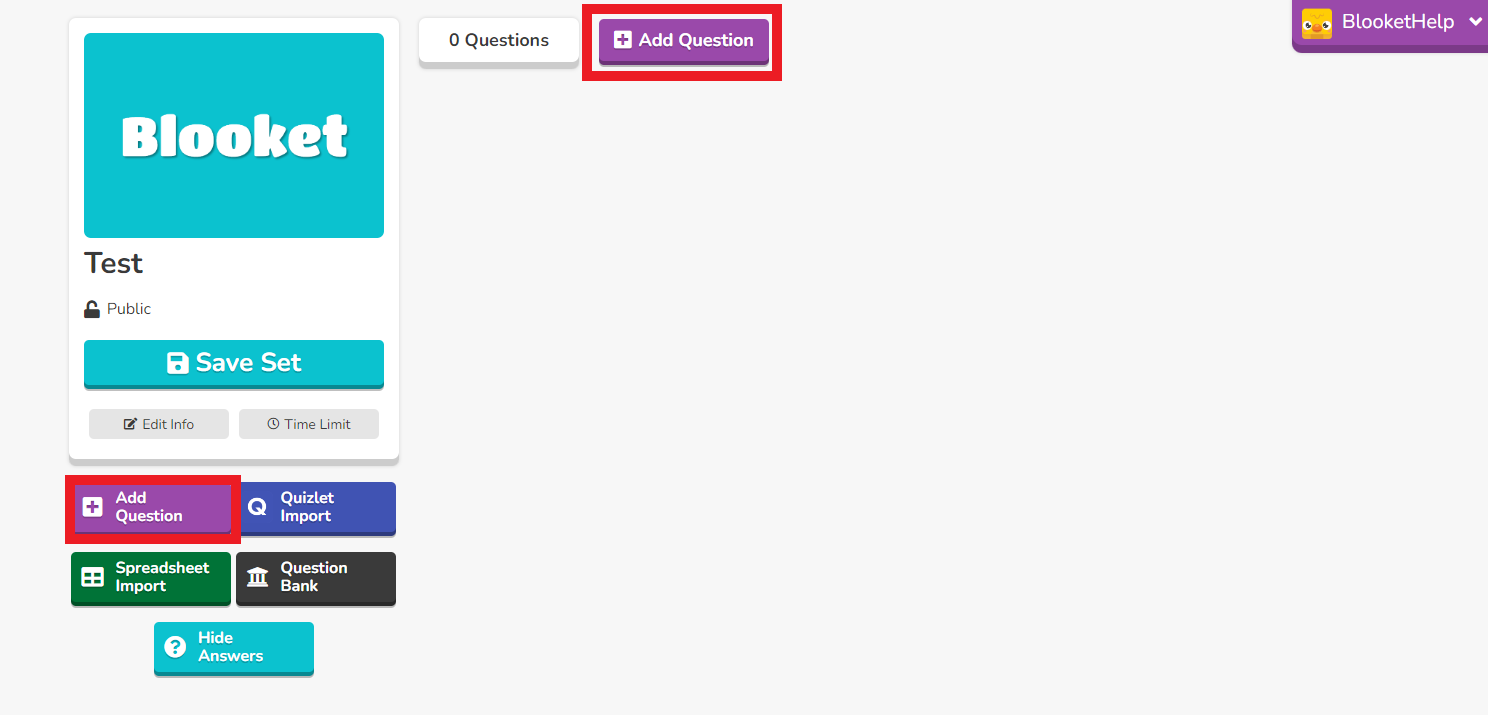
Step 3: Add Your First Question
In the question editor, click Add Question. Here’s what each field controls:
- Question Title (Required): This is the question text students see during gameplay. Keep it clear and concise. Blooket displays the question on screen alongside the game interface, so very long questions can be hard to read quickly. Aim for one clear sentence.
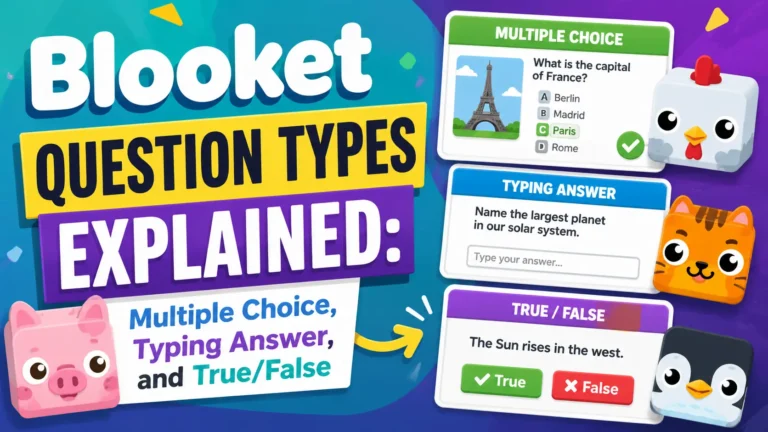
- Question Type: Use the dropdown to select Multiple Choice (the default) or Typing Answer. True/False is a variation of multiple choice. See Step 4 below.
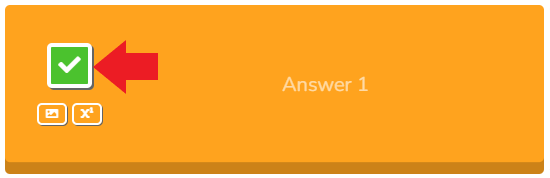
- Answer Options: Add between 2 and 4 answer choices. Click the checkbox next to the correct answer to mark it green. You can mark more than one answer as correct if your question has multiple valid responses.
- Random Order Toggle: When checked, answer choices appear in a shuffled order each time a student sees the question, which prevents answer position memorization. This setting applies per question, not globally, so leave it unchecked for True/False questions so True is always on the left and False on the right.
- Time Limit: Set how many seconds students have to answer this question. The default is 20 seconds. Increase for reading-heavy or complex questions; decrease for fast-recall drills like multiplication facts.
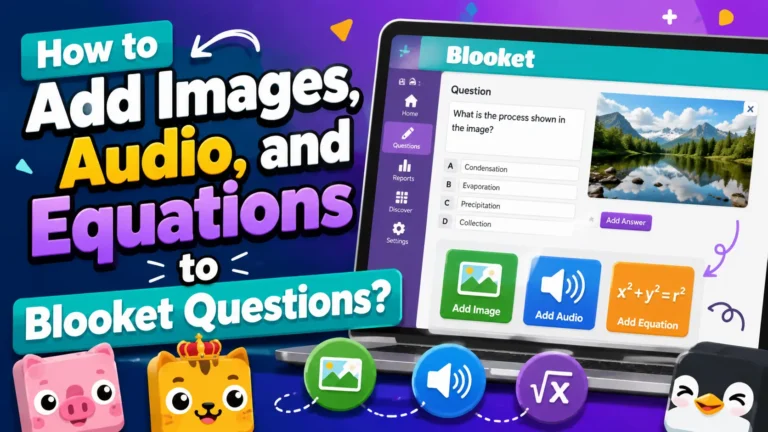
- Media (Images, Equations, Audio): Icons on the left side of the editor let you add an image to the question prompt or any individual answer option, an equation via the LaTeX editor, or audio.
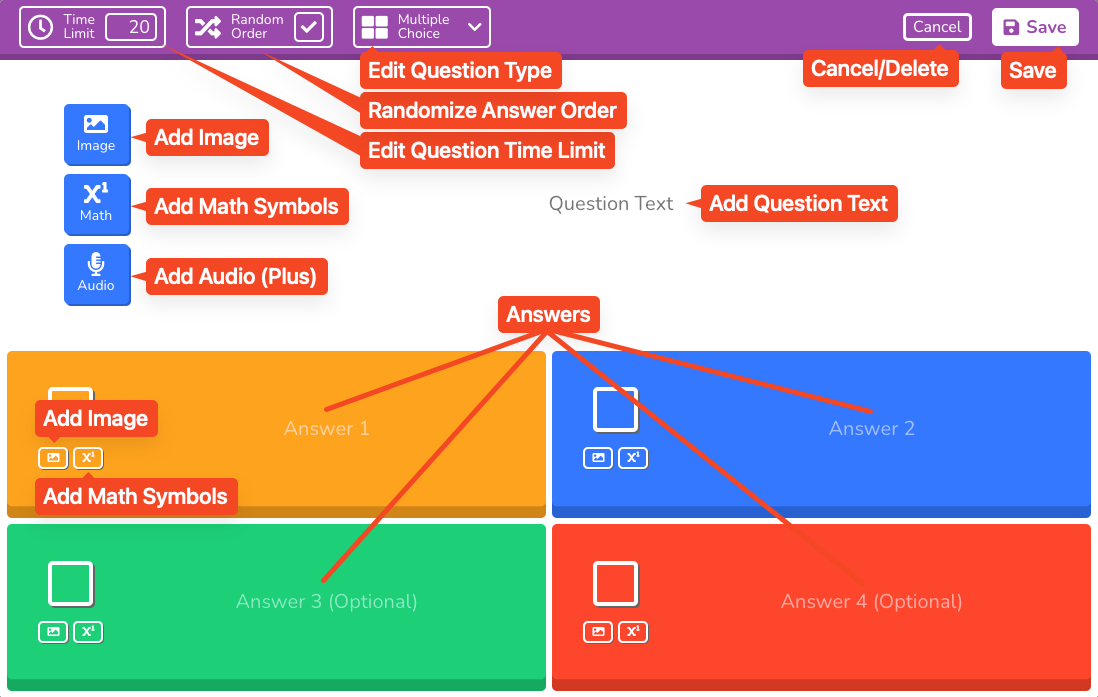
- An image (gallery or upload) to the question prompt
- An image to any individual answer option
- An equation using the LaTeX editor
- Audio (Blooket Plus only)
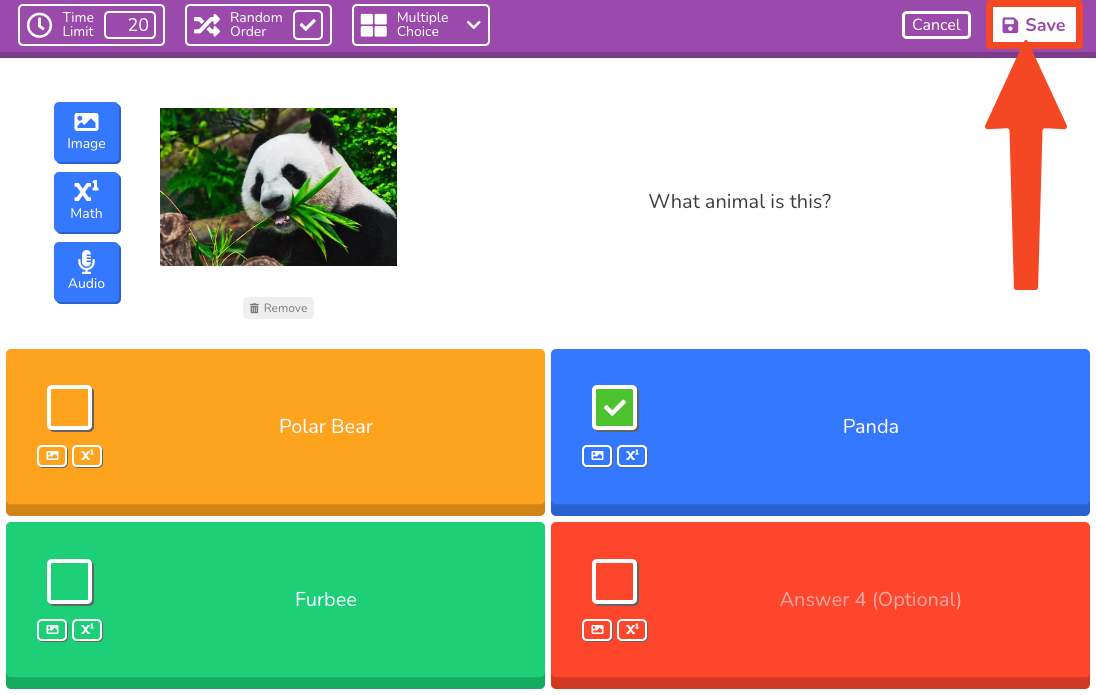
When your question is complete, click Save in the top right of the question card.
Full Media Guide → How to Add Images, Audio, and Equations to Blooket Questions
Source: verified from Blooket’s official “How to Create a Blooket Question Set” documentation.
Step 4: Create a True/False Question
True/False questions are built as a special case of multiple choice:
- In the question editor, keep the question type set to Multiple Choice.
- Type “True” as Answer 1.
- Type “False” as Answer 2.
- Leave Answer 3 and Answer 4 blank.
- Mark the correct answer.
- Uncheck the Random Order box. This ensures True always appears on the left and False on the right, matching student expectations.
Step 5: Create a Typing Answer Question
For questions where you want students to type their own response rather than select from options:
- Click the question type dropdown and select Typing Answer.
- Enter your question text.
- In the answer fields, enter the acceptable correct response(s).
Choose your matching style:
- Contains (the response just needs to include the answer text somewhere, good for definitions or open-ended phrasing)
- Is Exactly (the response must match the answer text exactly, case-insensitive, good for specific terms, dates, or precise answers).
Full Comparison → Blooket Question Types Explained
Step 6: Repeat and Build Your Set
Click Add Question again to add your next question. There’s no minimum or maximum question count, though sets of 10 to 30 questions work best for most classroom game sessions. Very short sets (under 8 questions) may cycle through too quickly in some Blooket game modes.
The editor auto-saves as you work. You can also click Save Set at any time using the button in the top-right of the editor.
Step 7: Save and Use Your Set
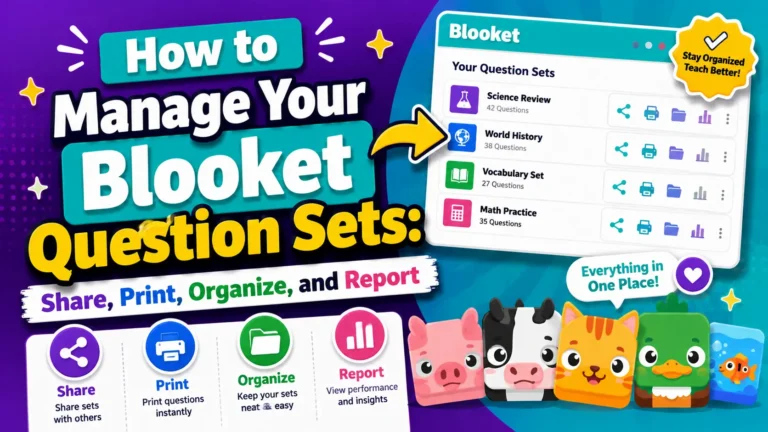
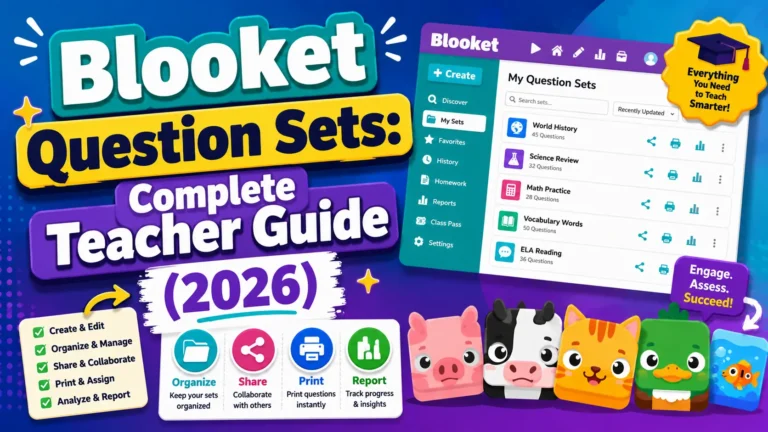
When you’re finished adding questions, click Save Set. Your set is now stored in My Sets on your dashboard and is ready to use. From the set preview page or your My Sets library, you can:
- Host: Launch a live game immediately
- Solo: Play the set yourself to preview how it feels
- Assign HW: Create an asynchronous homework assignment
- Edit: Return to the question editor to add, remove, or modify questions
- Share: Generate a shareable link (Public sets only)
- Print: Export as a printable worksheet
Tips for High-Quality Sets
- Preview before hosting. Play the set in Solo mode before using it with a class. It’s the fastest way to catch a mislabeled correct answer or a confusing question.
- Keep questions focused. Each question should test one clear concept. Avoid double-barreled questions that combine two separate ideas (“What year did X happen AND why did it matter?”).
- Balance question difficulty. Mix easier recall questions with harder application questions. A set that’s too hard kills engagement; one that’s too easy stops being useful for review.
- Match time limits to difficulty. 10 seconds for math facts, 20 to 25 seconds for concept recall, 30+ seconds for reading-based questions.
- Build sets of 15 to 25 questions for standard review sessions. This gives enough variety to cycle through multiple rounds in most game modes without repetition becoming obvious.
Where to Go Next
- New to Blooket? Start with the Blooket overview
- Want the full teacher toolkit overview? Visit the For Teachers hub
- Building sets for students to use directly? See the For Students hub
Have a different question? Check our Frequently Asked Questions or the full Blooket Help Center
Frequently Asked Questions
How many questions should a Blooket set have?
There’s no strict minimum or maximum, but sets of 15 to 25 questions work best for standard classroom review sessions. Sets under 8 questions may cycle through too quickly in some game modes.
What’s the default time limit for a question?
20 seconds. You can adjust this per question, lower for fast-recall drills, higher for reading-heavy or complex questions.
Can I make more than one answer correct on a Multiple Choice question?
Yes. Click the checkbox next to each correct option; you’re not limited to marking just one.
How do I create a True/False question?
Keep the question type as Multiple Choice, type “True” in Answer 1 and “False” in Answer 2, leave Answers 3 and 4 blank, and uncheck Random Order so True always appears on the left.
What’s the difference between “Contains” and “Is Exactly” for Typing Answer questions?
“Contains” accepts any response that includes the answer text somewhere, useful for definitions. “Is Exactly” requires a precise (case-insensitive) match, better for specific terms or dates.
Can I add audio to my questions?
Yes, but audio questions are a Blooket Plus feature. Images and LaTeX equations are available to all users.
Can I change a set’s privacy setting after creating it?
Yes. You can switch between Public and Private at any time from your set’s settings.
Does the editor save my progress automatically?
Yes, the editor auto-saves as you work. You can also click Save Set at any time to save manually.